
We may receive commissions from purchases made through links in this post, at no additional cost to you.
Every adult has their own “how I learned to ride a bike” story. Mine’s a bit blurry, but it involved training wheels, lots of crashes, and finally figuring out how to balance one day in my neighbor’s garage. I don’t even remember at what point my training wheels came off, but I do remember it took a lot of time and effort learning to ride without them. Come to think about it, did the training wheels even help?
I’m at a time in my parenting life that I need to teach my own kids to ride their bikes, and I can now confidently say that training wheels don’t work. (Check out 10 Reasons to NOT Use Training Wheels if you want to learn more.) If training wheels won’t help, what can you use instead? Let’s take a look at 5 alternatives to training wheels (and which ones we at Dad Stuff recommend).
1. Balance Bike
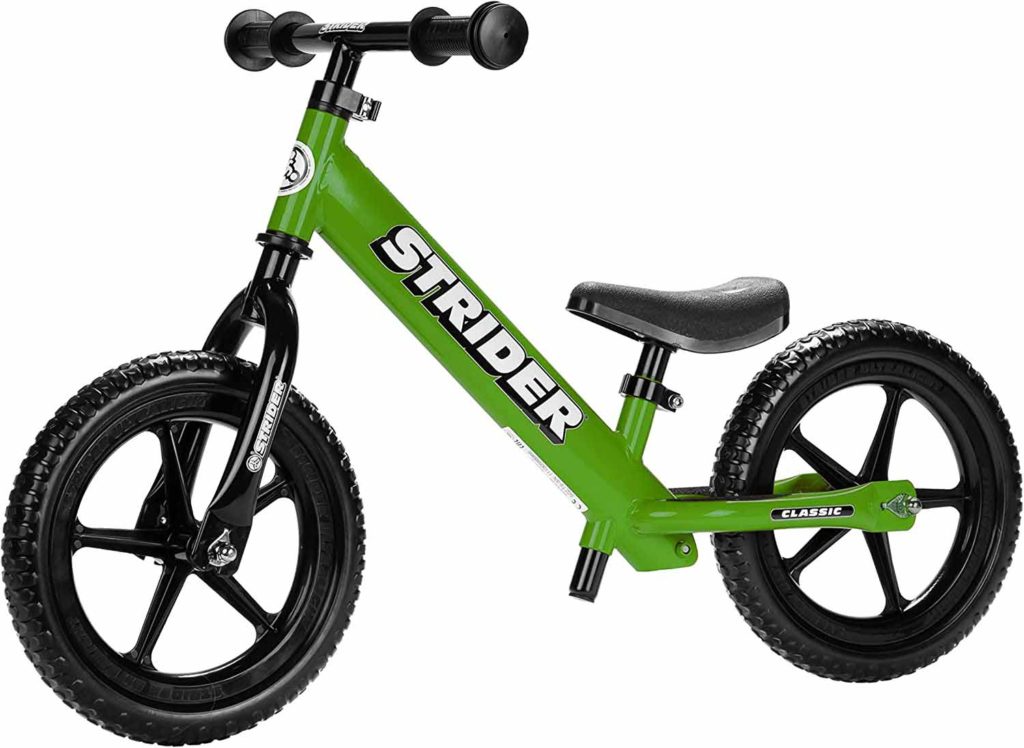
One of the best options to teach your child to ride a bike is with a balance bike. A balance bike is essentially a bike without pedals with a seat that can be set lower. A lower seat allows for the rider to push off the ground with their feet. A balance bike is a great option for a younger child (as young as 18 months old).
Balance bikes also tend to be much lighter than pedal bikes. Because they’re so light, young children can move them around easily without the help of an adult. Kids can easily push them uphill or take them off roading.
Balance bikes are great for teaching children the most important (and most difficult) step to riding a bike: balancing. What’s better is that it encourages children to learn independently. They simply sit on the bike and scoot around on it. As soon as they feel comfortable, they start to do short glides. Eventually that turns into long glides, and then fun excursions down hilly roads.
While balance bikes used to be a niche item, they’ve gotten much more common (and therefore cheaper). One of the gold standards is made by Strider. If you’re looking to get one for your 18 month-old to 5 year-old, go with the Strider 12 Sport. It’s about $20 more than the Strider 12 Classic but can be adjusted easily for children up to 5 (whereas the Classic is for kids up to 3). I personally like the idea that I can make it last for a couple more years.
This article is originally from www.dadstuffsite.com
Related: Do I Really Need a Balance Bike? (Pros and Cons)
2. Pedal Bike Without Pedals
While a balance bike is an excellent way for a toddler to learn to ride a bike, they’re not the best option for older kids. One truth about the balance bike is your child will outgrow it (unless they won’t grow past the height of a toddler). So if you have an older child or you already own a pedal bike, you can teach your child to balance by converting it to temporary balance bike.
The simplest way to convert your pedal bike is to remove the pedals and lower the seat. For a step by step method, take a look at Turn a Pedal Bike into a Balance Bike (In 5 Minutes or Less).
The best part of this approach is that as soon as you child feels comfortable balancing, put the pedals back on and readjust the seat. Now you child has their first pedal bike.
If you’re not sure whether you should get a balance bike or convert a pedal bike, check out Balance Bike vs Bike Without Pedals (What’s Better?)
3. First Ride Harness
The key to teaching your child to ride a bike is helping them learn to balance. One suggestions that many teachers suggest is to hold your child under their arms. The idea is that you should not hold onto the bike, but your child instead. This allows for your child to control the balance on the bike.
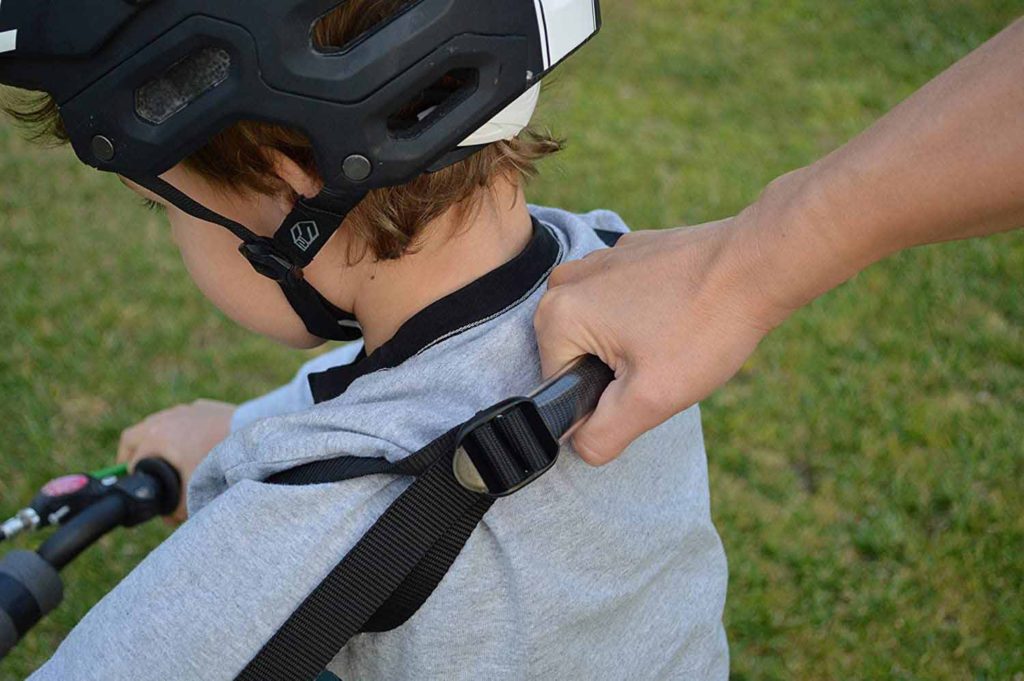
The idea of chasing after my child as they ride around with my hands under their arms isn’t the easiest of options (I already have back problems). This is where the First Ride Harness comes in. Your child sticks their arms through two loops that is connected to a grip in the back. You only need to hold on to the grip.
The major downside is that it’s very much a uni-tasker. I cannot think of a use outside of teaching your child to ride a bike. That said, it’s only $20, so you’re not going to break the bank.
Related: 10 Reasons to NOT Use Training Wheels (Do This Instead)
4. Beach Towel or Old Bed Sheet Under Your Child’s Arms
This is the free version of the First Ride Harness. Simply take an old bed sheet or beach towel, twist it (like you’re going to whip your younger sibling), put it around your child’s chest and under their arms, and hold the ends at their back.
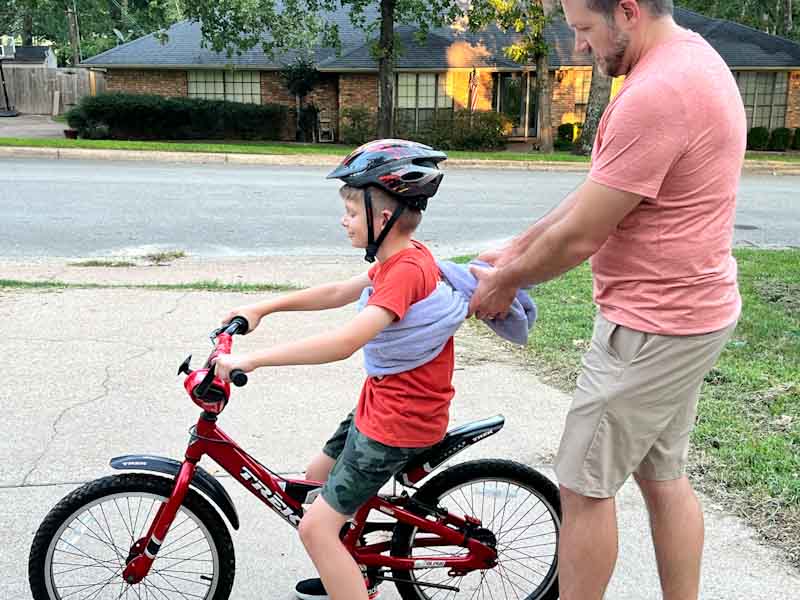
The concept works the same. Have your child practice balancing while your walk around behind them. And when your kid learns to balance, it goes back to being a towel/bed sheet.
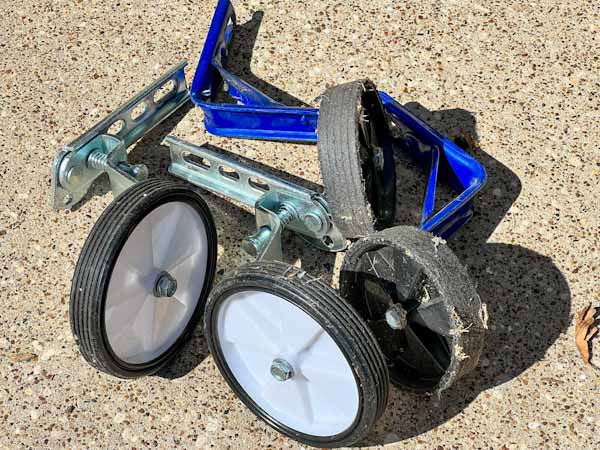
5. Rear Handle Bar
There are two main types of rear handle bars on the market. The first kind connects to the rear axle. It’s essentially an elongated and inverted metal “U”. (I don’t even know exactly what to call this as the title is super generic).
This article is originally from www.dadstuffsite.com
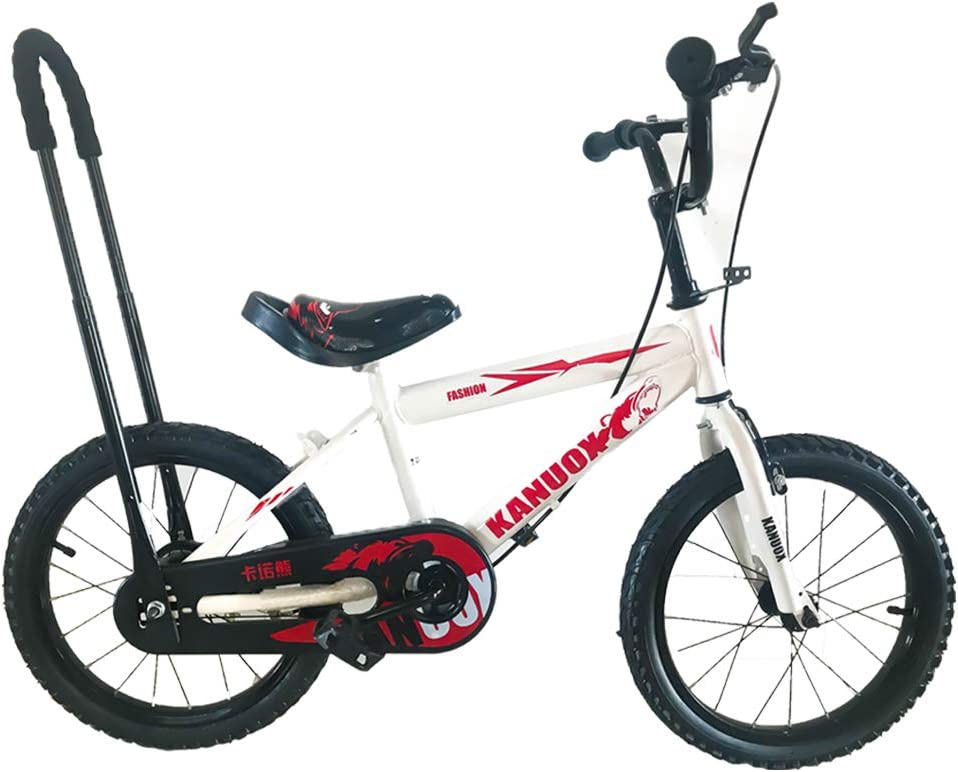
The idea is you get to walk behind your child and help them to balance. No awkward reaching, and no trying to walk around the rear wheel. This is a nice option for younger/smaller children, and not the best for older or heavier children.
Because it connects with the bike so low, it can be a little more challenging to leverage a bigger child. It’s also not made from heavy duty metal, so it can handle only so much stress.
That being said, because of its shape, it can be held with one or two hands comfortably. You can either walk next to the bike one handed, or behind the bike and use two hands. So while physics is against you with the leveraging point, you are able comfortably hold in with two hands.
Related: Should Kids Bike With or Against Traffic (And Why)
The other kind of rear handle connects to right under the bike seat. (This also has a super generic name that doesn’t make it sound any different than the other one.) This is similar to holding the back of the child’s seat except you’re not having to run around the real wheel. The leveraging point is higher so it’s easier to help control your child.
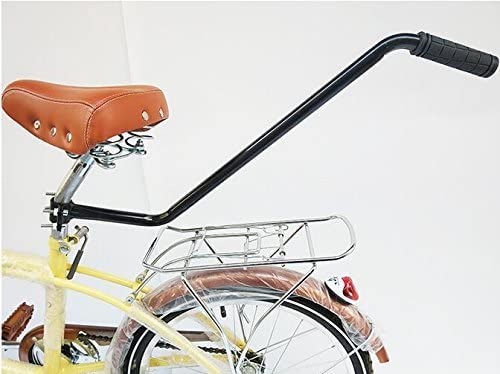
The major disadvantage to this is that you can only walk beside it with one hand (at least comfortably). It’s a little trickier to use more muscle if you needed to hold your child more secularly.
Both options range around $20-25, so while you may not use them again after your kids can ride solo, they’re not big investments either.
Related: Teach an Older Child to Ride a Bike (Differences and Tips)
The Dad Stuff Recommendation
So which option do you choose? It depends. If you have a young child (like 3 or younger), go for the balance bike. There are a lot more options available online that are cheaper than the Strider bike.
Whatever you decide on, be sure to get one that can grow with your child. In fact, Strider now makes a slightly larger bike (the Strider 14x Sport) that you can buy pedals for. This way it can become your child’s first pedal bike too.
If you have an older child (and especially if you already have a pedal bike), then get a pedal bike and take off the pedals. As soon as they learn balance, they’re now ready to learn to pedal.
If you still need help balancing, I personally would use an old bed sheet or towel (I should mention that I’m cheap). I personally don’t love the idea of having specialty balancing tools and a strap that I will never use again the moment my kids learn to pedal.
This article is originally from www.dadstuffsite.com
Related Posts
Training wheels have been around forever. I know I had them when I was a kid (as did every other kid on the street), and I’m willing to bet most of you had them too. When it was time for my kids to...
Turn a Pedal Bike into a Balance Bike (In 5 Minutes or Less)
There are a couple options to help your child learn to balance when they’re first learning to ride a bike. You can buy a balance bike or you can take the pedals off the bike and turn it into a...