
It’s summertime and I’m looking for places to go and things to do with my kiddos. The other day we went to a maker camp at my local library (FYI: if you’re looking for activities for the kids, go check out your local library. In fact, go ahead and open up a new tab now to remind yourself – after your read this article – to check out the events going on.), and we learned how to make our own stomp rockets.
Many of you have probably already heard of stomp rockets, but for the dads in the back, it’s a simple air-powered foam rocket. You stomp on an air bladder which pushes air through a tube and launches a rocket. If this is new to you, you gotta check it out. Your kids will have hours of fun!
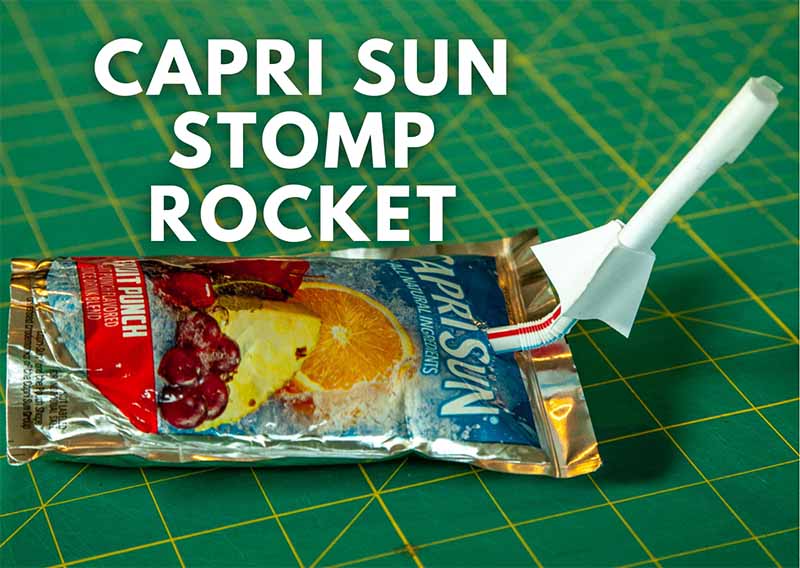
But this article isn’t about the store-bought stomp rocket, it’s about making your own mini stomp rocket…with a Capri Sun juice pouch.
If you’ve read anything on Dad Stuff, you’ll know that I like to be a little extra when it comes to activities with the kids. But sometimes there are moments that I need an activity that will just take an hour or so. Something that uses what I have on hand where I don’t need to buy anything extra. This fits the bill perfectly. Let’s get started.
Materials to Build a Capri Sun Stomp Rocket:
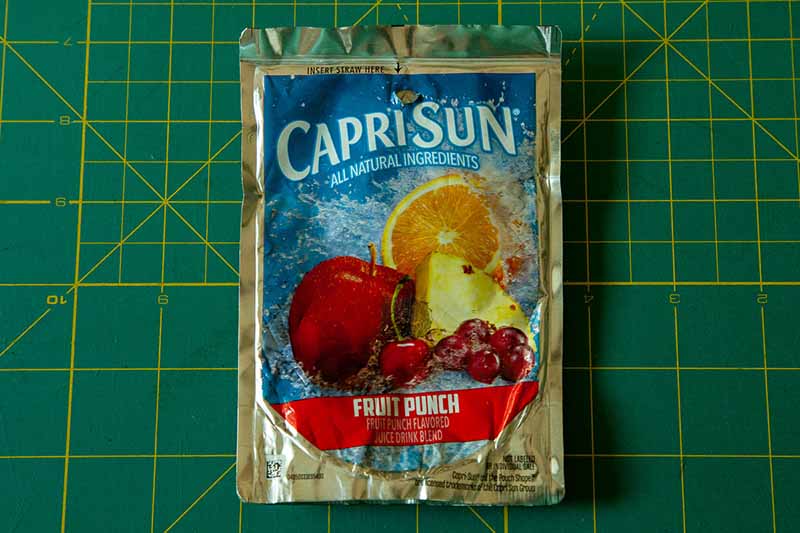
- Empty Capri Sun pouch (at least one, but it’s nice if every person has their own)
- Bendy straw
- Piece of paper (plain white printer paper is fine. Colors are nice too, but something the weight and thickness of printer paper is best)
- Scissors
- Tape
- Glue (Glue sticks are best for this)
- Pencil
- Ruler
- Chopstick (opt.)
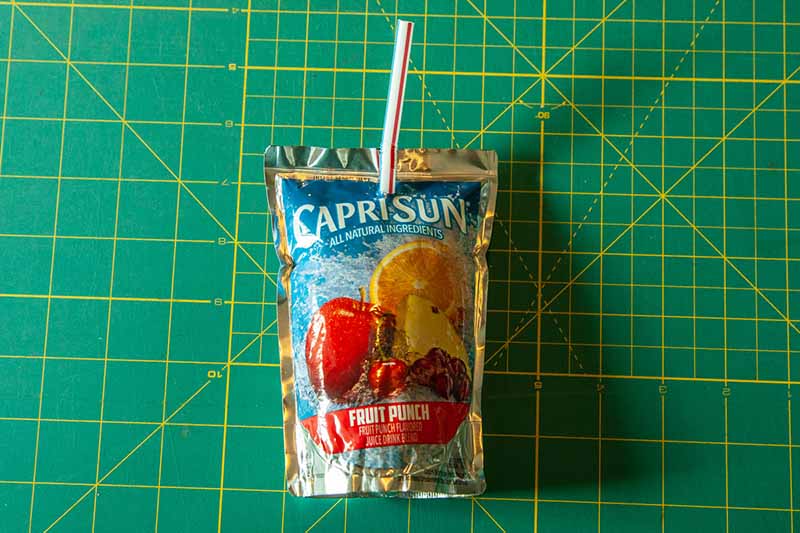
Making the Launcher
The launcher is going to be made out of the Capri Sun pouch. To get started, take however long it takes to get the straw into the pouch (no judgement here if you struggle. I’ve put in my 10,000 hours but my kids still haven’t figured out how to get a straw into a Capri Sun), and drink/dump the whole container’s worth. We want that pouch empty.
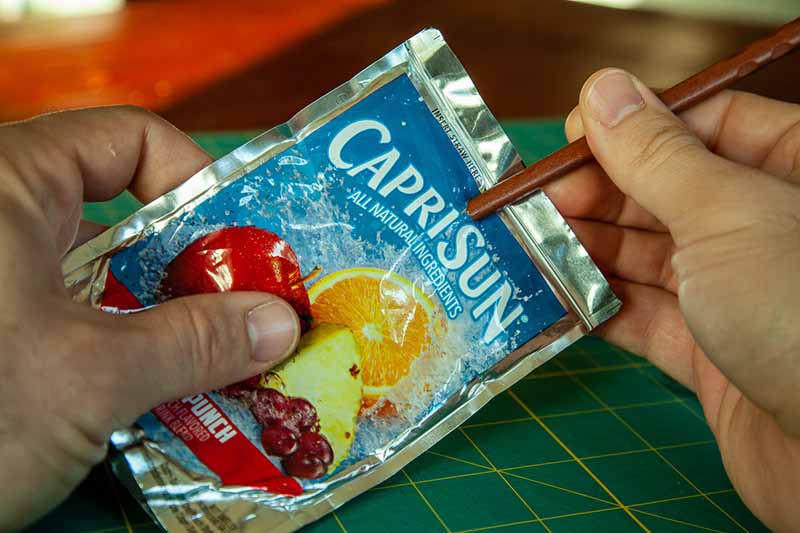
Next, we need to stretch out the straw opening a little more. You can use a chopstick to do this, or even the tip of the pencil.
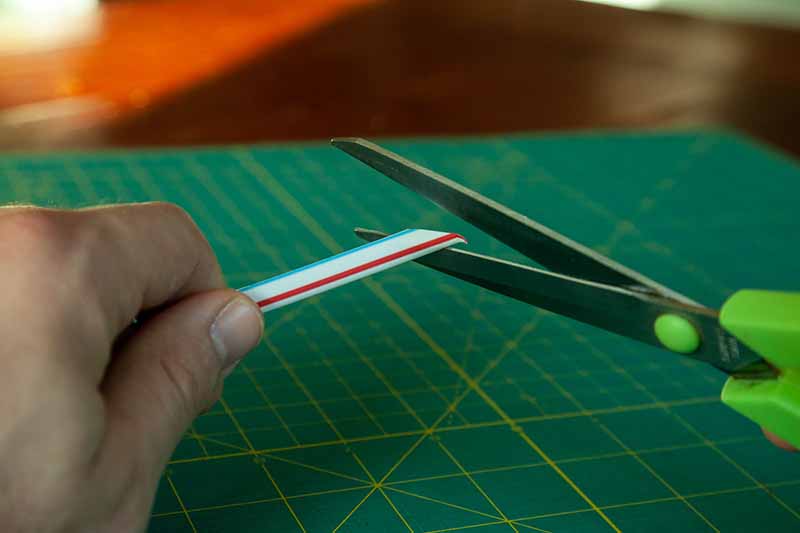
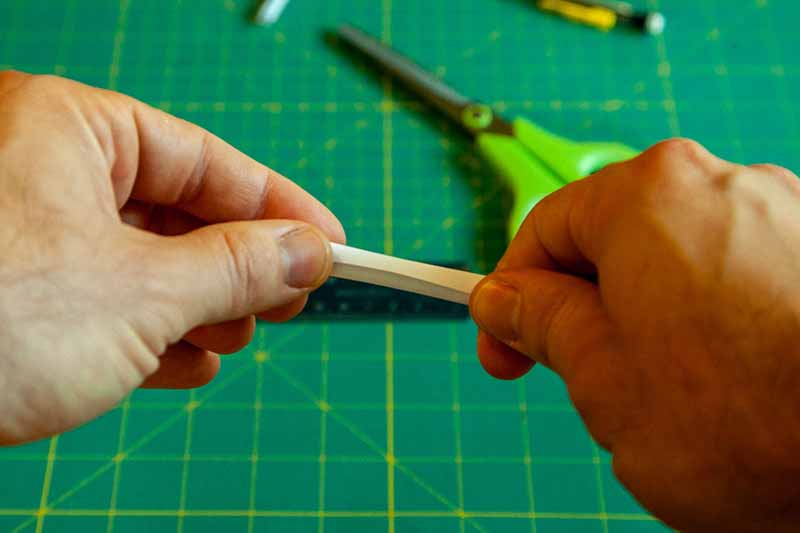
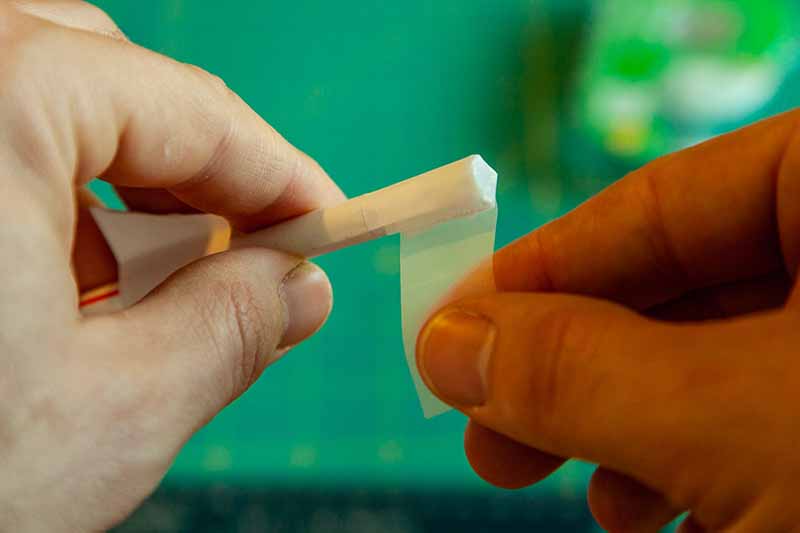
Now take the bendy straw, and cut a sharp angle near the tip of the longer side so when you’re done it has a nice tip.
Insert the newly cut end of the straw into the opening on the Capri Sun pouch.
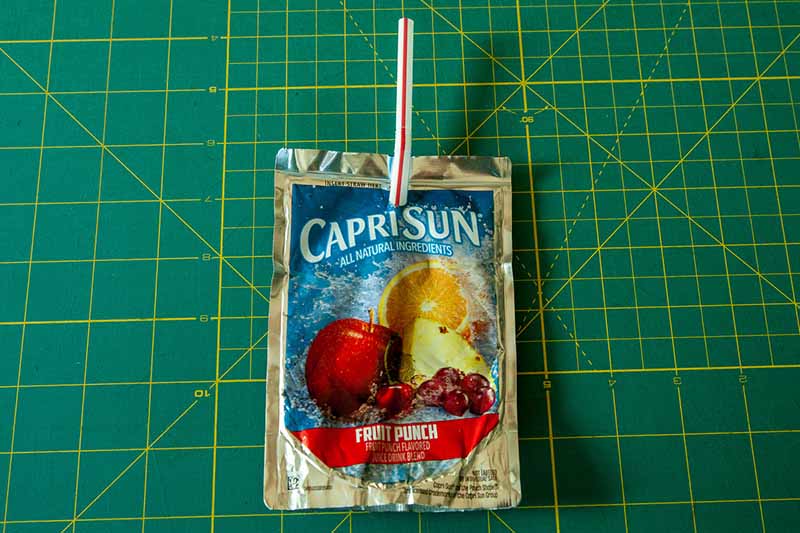
Blow some air into the straw, and we now have our launcher!
Making the Rocket
The Body:
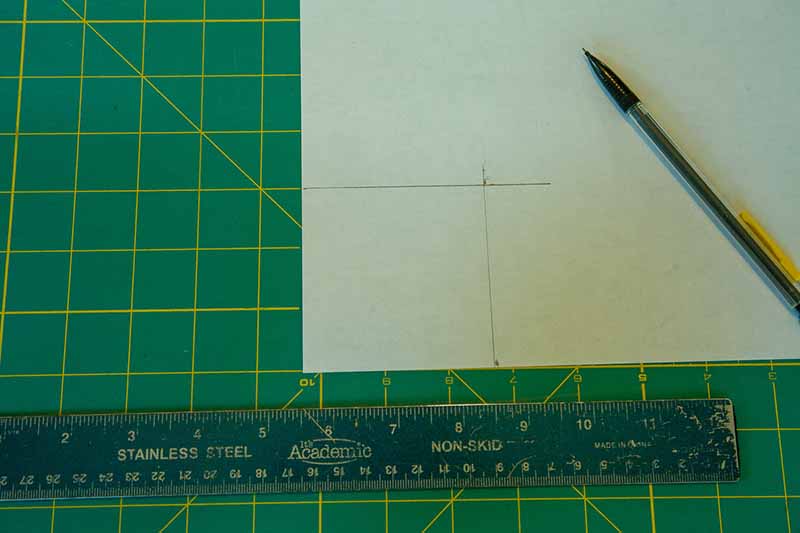
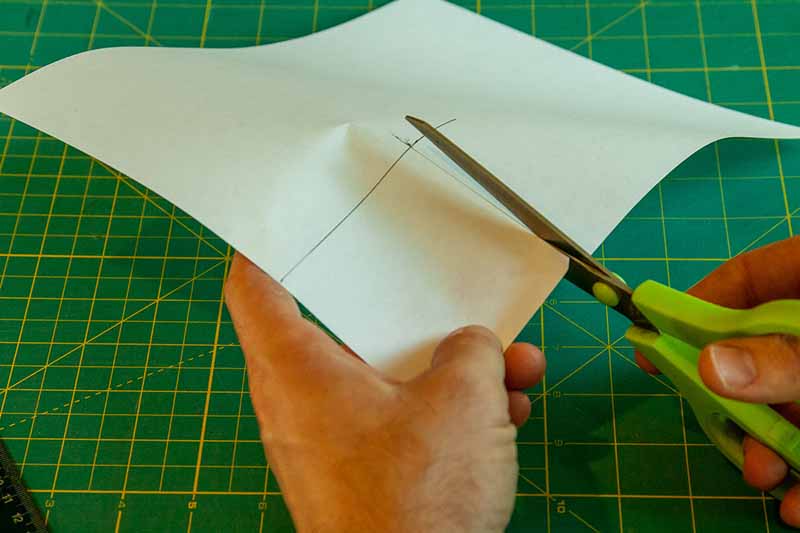
Time to make the body of the rocket. Start by cutting a 3 in x 3 in square out of the paper.
Roll the paper around the end of the straw to make a tube and tape the end.
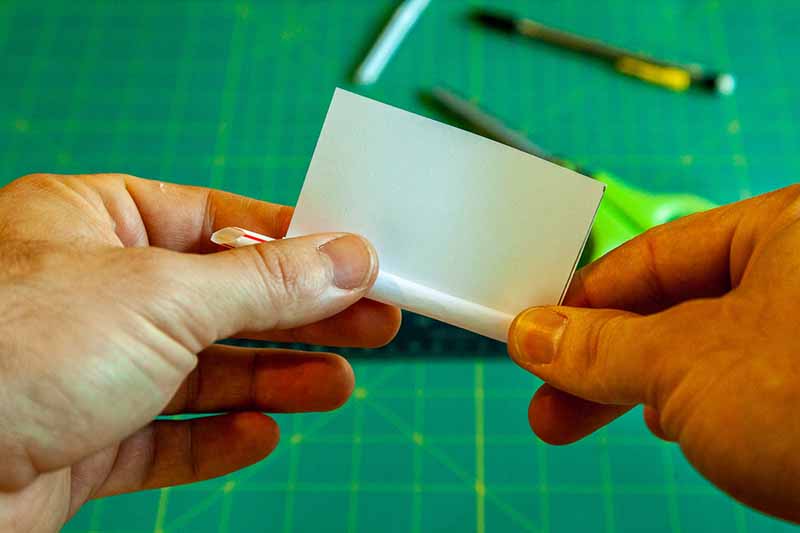
This is optional, but I like to leave the rocket body on the straw whenever I’m assembling the rest of the rocket. It gives a little more rigidity to the body so you don’t accidentally crush it while gluing or taping in some of the next steps.
The Fins:
Time to move on to the fins. This might seem a little fiddly, but don’t fuss too much. You’ll see by the time we get to the end of this section that there is a lot of room for error. Mistakes made in the first couple steps are likely to be corrected in the end.
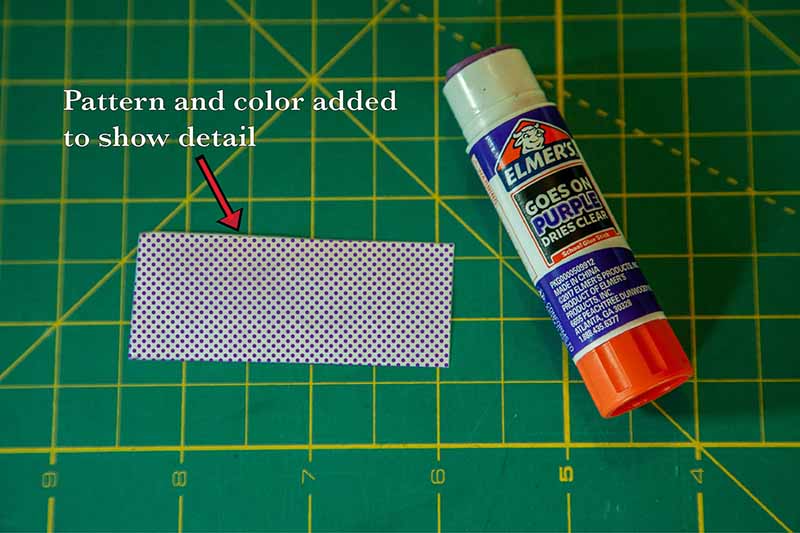
Start by cutting three 1 in x 2 ½ in strips of paper


These next couple steps involve some assembly while the glue is still wet. Look ahead at the next couple steps so you know what to do before the glue dries.
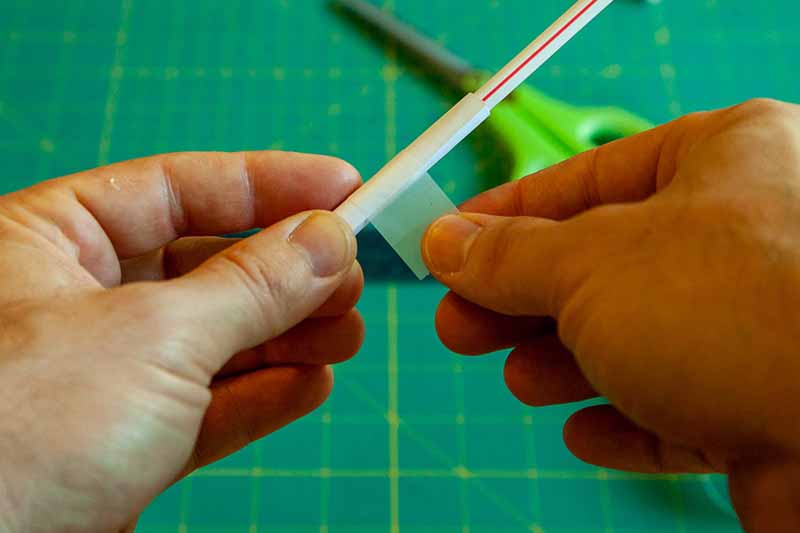
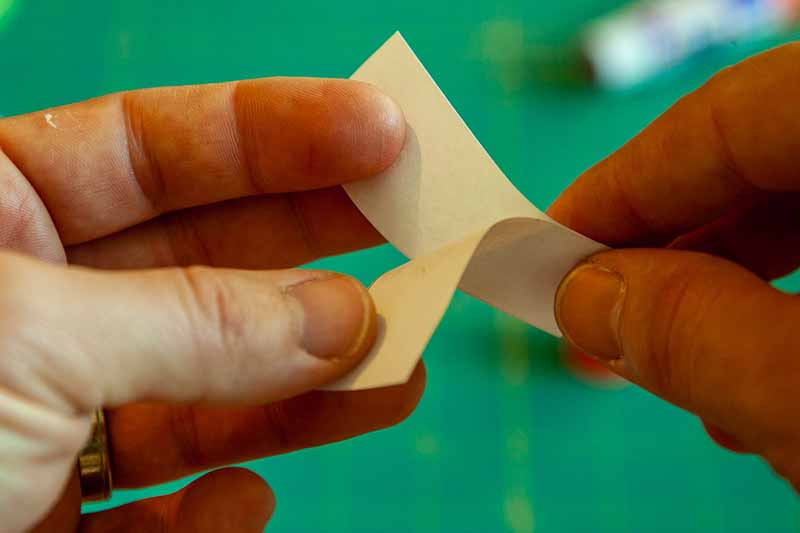
Take one strip and put glue on about half of one side.
Press a second strip of paper together with the first glued piece.
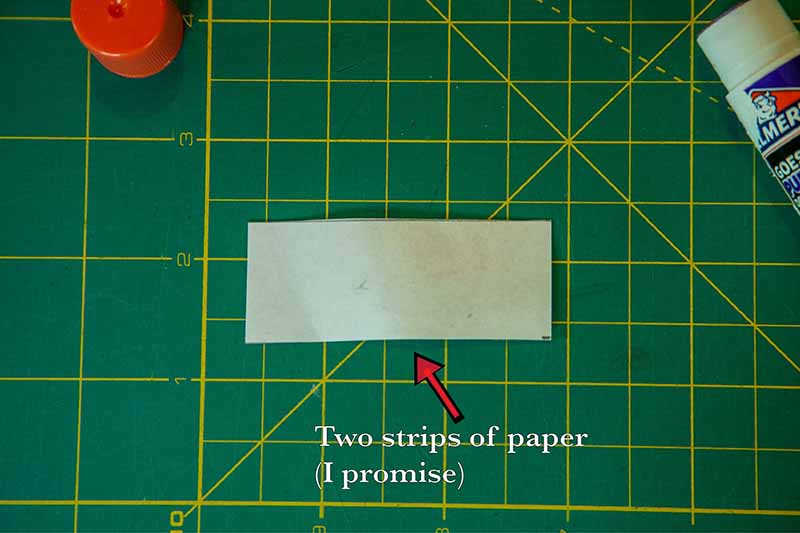
Pinch the end of the two glued pieces and open the other end of the two paper strips.
Put the rocket body in between the two strips at one end of the rocket body. The rocket body should connect to the two strips of paper where there is glue.
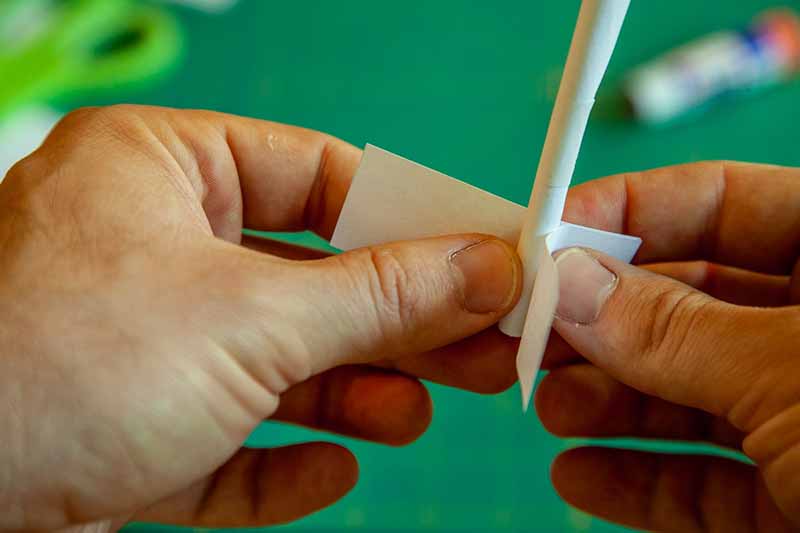
Use a piece of tape to hold the fins in place with the rocket body. Putting the tape on can be a little fiddly, but don’t worry too much. The tape is there to hold the fins in place while we work on the third strip of paper.

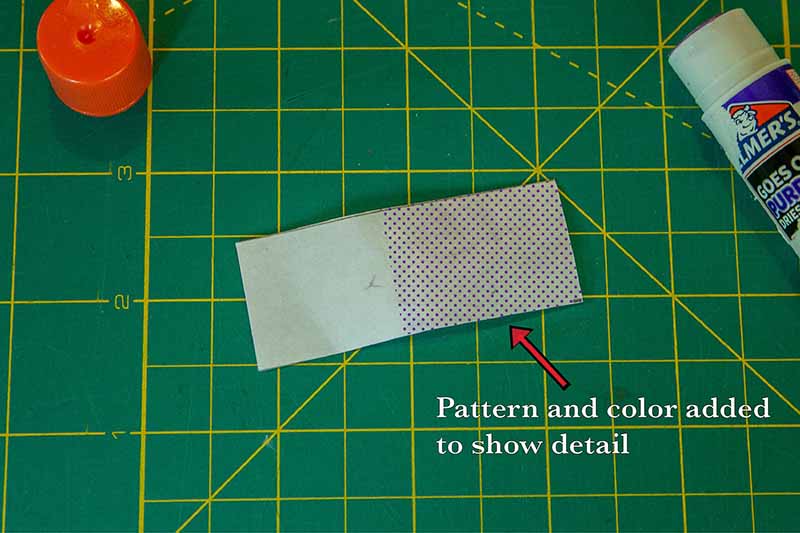
Take the third strip of paper and put glue on one side.
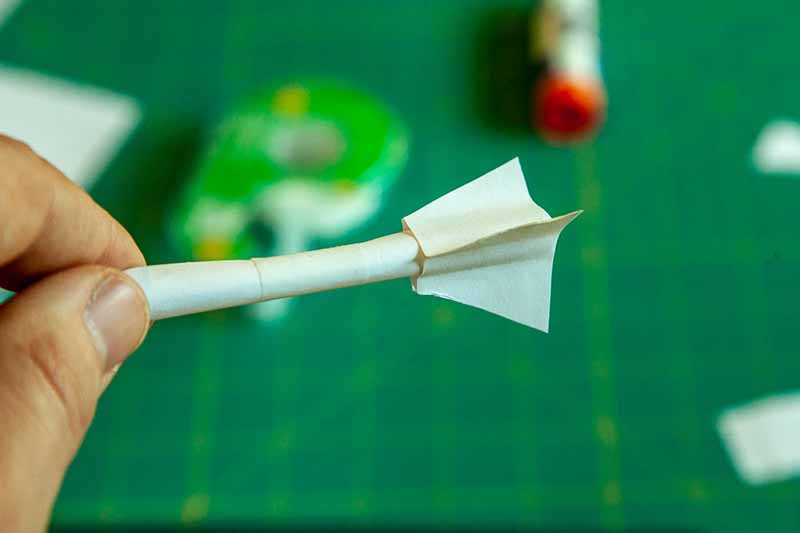
Glue this piece of paper to the other two fins on the taped side. At this point your rocket will look something like this:
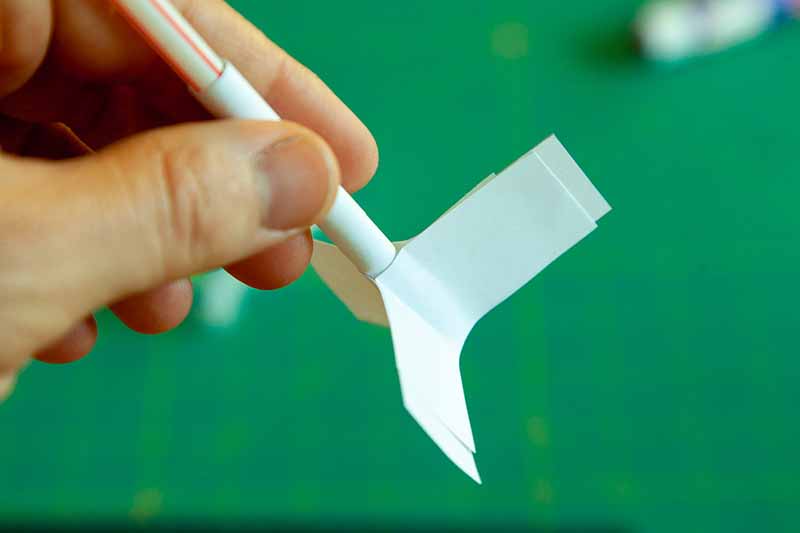
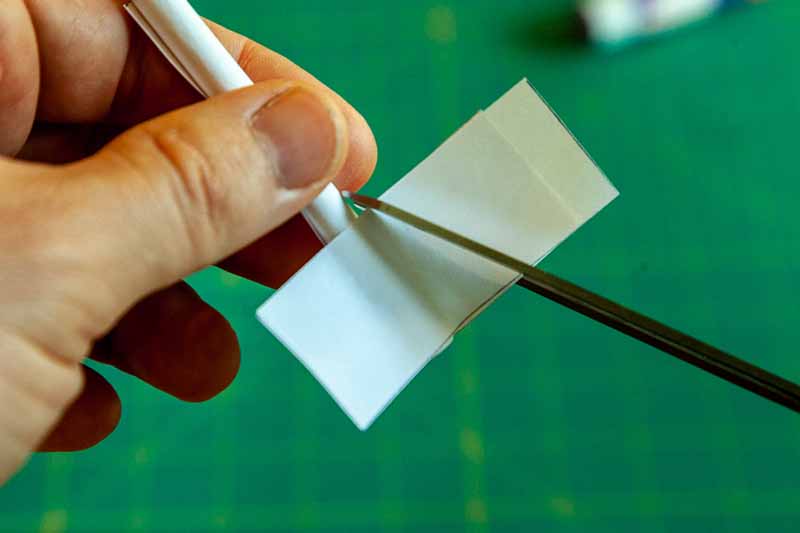
Use the scissors to cut the strips of paper glued to the rocket body to turn them into triangular fins.
The Nose Cone:
Now we need to deal with the nose. Right now your rocket is just a straw with some fins. We need to close off the tip. The key is to use tape to cover up the end. Do not crimp the tip. Keep it in the cylindrical shape. My youngest squeezed the tip and taped it (I was distracted for two seconds while I was working with my other son) and his rocket never flew straight.
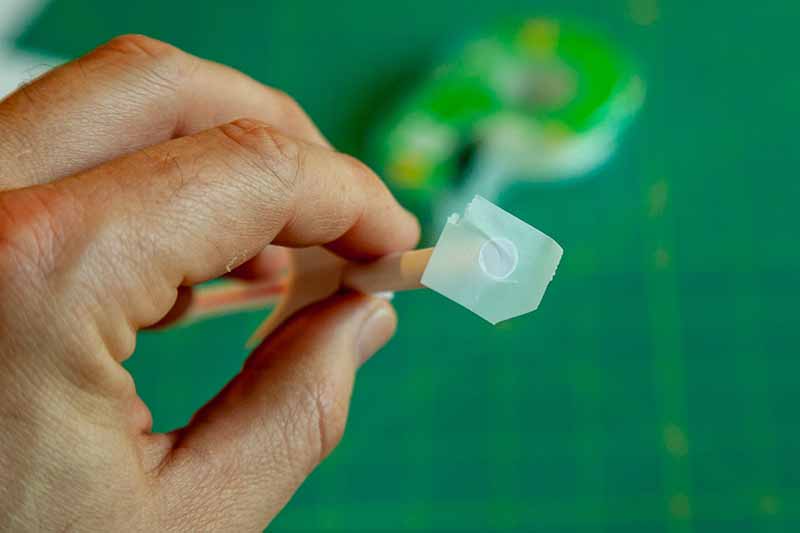
Take a piece of tape and put it on the tip (the end opposite the fins) and fold the ends of the tape down.
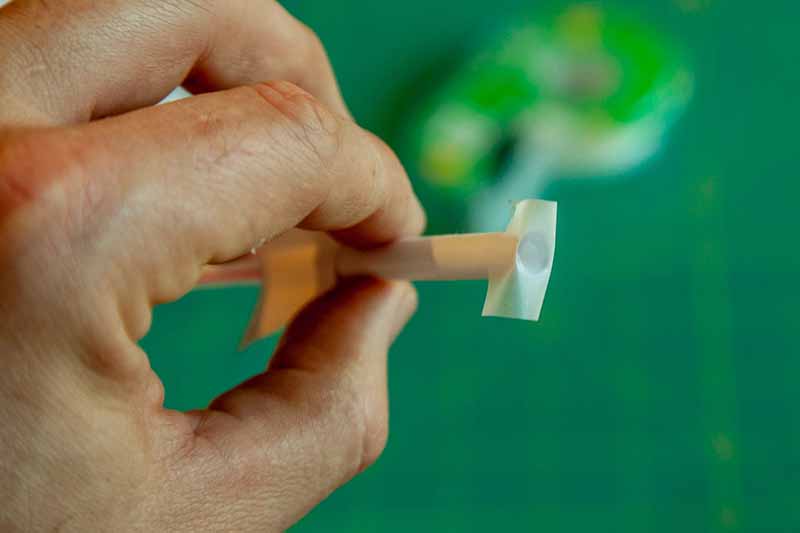
This is probably enough, but I like to take another piece of tape and put it on the tip perpendicularly to the previous piece of tape. Fold the ends of the tape like in the previous step.
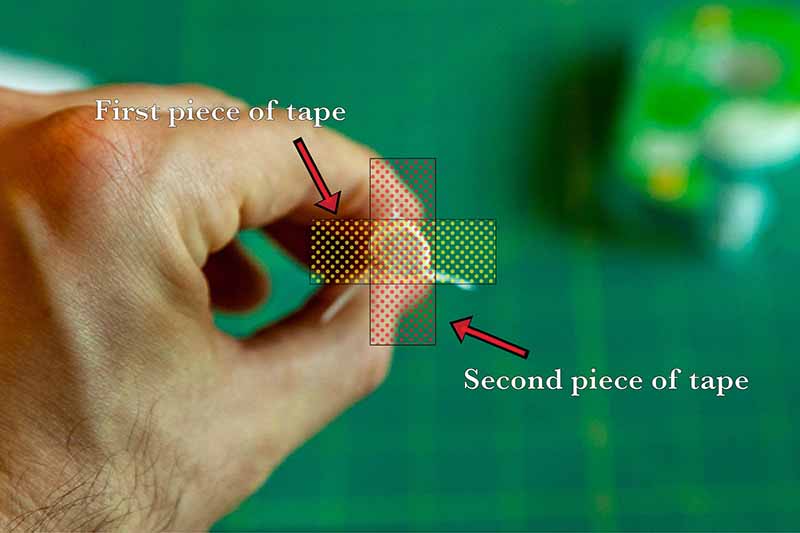
Take another piece of tape and wrap it around the tip of the rocket body to hold down the other two pieces of tape.
Launch Time!
Your rocket is now ready for launch! Blow air into your Capri Sun launcher.
Slide the rocket onto the top of the straw on your Capri Sun launcher.
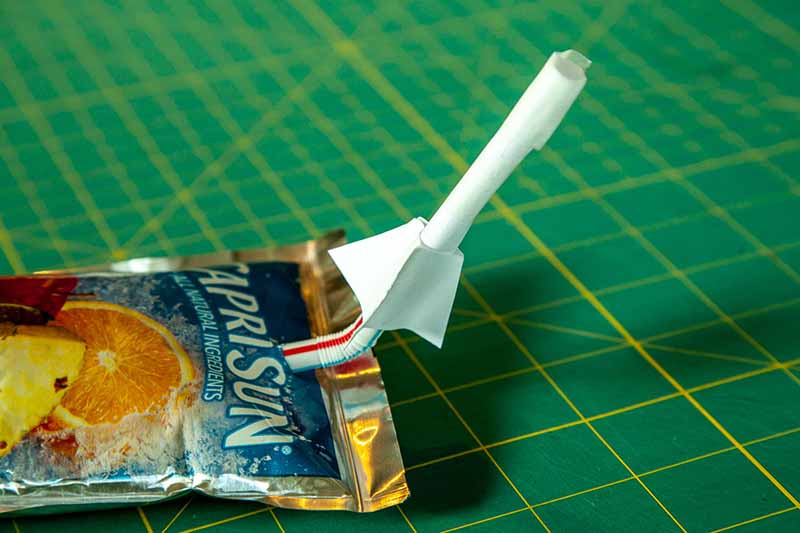
Use the bendy part of the straw to point the rocket straight up (or on an angle to make it a missile launcher), stomp on the pouch, and watch that rocket fly!
Have fun seeing who can go the highest (you’ll need to go outside because you’ll learn real quick that they will hit the ceiling with no problem). Or you can angle the straw to point it on about a 45-degree angle and see who can shoot their rocket the farthest. You can also blow up some balloons or make targets and have some target practice.
Whatever you do, you’ll have a blast making and launching these little guys!
Related Posts
My kids have gotten really into making paper airplanes lately. And in my lifelong quest to teach them new things, I’ve decided to show them a new way to make a paper airplane. This time with a...
Best Beginner Model Rockets to Build and Launch with Your Kids
I loved building model rockets as a kid. I loved the whole process from building it, painting it, and of course launching it. And while life has forced me to take a break from my childhood hobby,...