
The weekend is coming up and the wife is out of town. That means I’m on full time Dad Duty. One of the things I learned when I have a long period of time with two kiddos and no back up from the spouse (and, no, it’s not called “babysitting”…it’s called parenting), is that having a game plan can make the difference between a great weekend with the kids and a frustrating one.
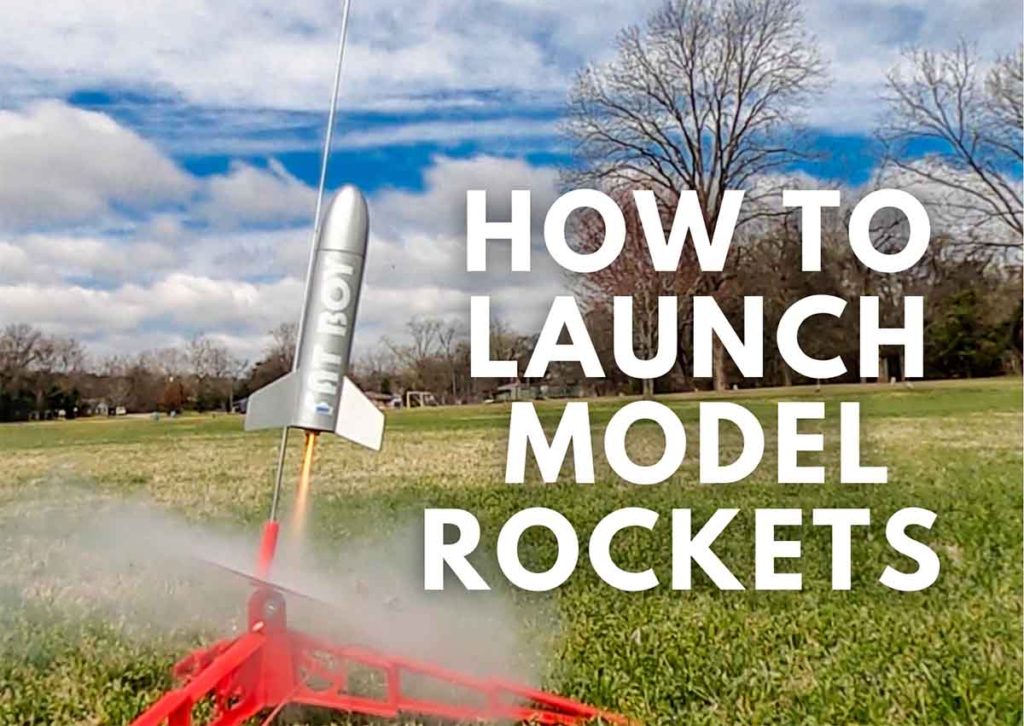
So what’s a great activity to do with the kids that can keep them engaged? Launching model rockets! The hobby is relatively inexpensive (and even cheaper once you have a launch pad and launch controller) and super easy to get into.
The best part about model rockets is that it includes a couple different activities. You start out with a nice, focused, indoor building session and then move outside to the launch site and have your kids run around chasing the rockets as they float back to the ground.
Pro dad tip: When finding activities to do with your kids, it’s important to have both mental and physical stimulation. There are two very different kinds of tired. The kind where you’ve exerted yourself physically, and the kind where you’ve worn yourself out mentally. I find when my kids are one and not the other, potential issues come up (and with two young boys, that usually means bickering and fighting).
Not only is it just plain cool to launch something you made hundreds (or thousands) of feet into the air, but you have the added benefit of wearing your kids out by having them chase down the rockets when they land (can someone say early bedtime?).
Materials: What Do You Need to Fly a Model Rocket?
Before you can get to launch day, there are a couple of things you need to get first:
- Rocket
- Glue
- Rocket engines (comes with igniters)
- Launch pad
- Launch controller
- Batteries for controller
- Recovery wadding
If you’re new to the hobby, some of the items on this list may seem a bit foreign, and with so many options available, it can seem a bit overwhelming. Not to worry, I will give you my recommendations, and for anything that you might want to read more about, I’ll link to more in-depth articles.
What’s the Best Beginner Rocket to Start With?
There are a lot of great beginner rockets available, and Estes is the brand to start with (no they did not pay me to say that). While there are some great model rocket companies, Estes has a huge line of beginner rockets that are inexpensive and readily available. You should be able to get everything you need at a hobby shop, craft store, or Amazon.
The choice of rocket kits available can look a little intimidating, and you may be wondering where to start. The first thing to look at when shopping for a rocket is to understand how they’re classified. The main difference with the different levels of rocket kits is how easy or hard they are to build. (Estes classifies them into five categories: Beginner, Intermediate, Advanced, Expert, and Master. You may still find the old classification system of Level I, II, III. More on all of this here.)
The good news is that Estes has made the process of building even easier and the days of gluing fiddly balsa wings for a beginner rocket are gone. In fact, Estes has redefined their skill levels and what once was considered beginner (the balsa fin rockets) is now intermediate.
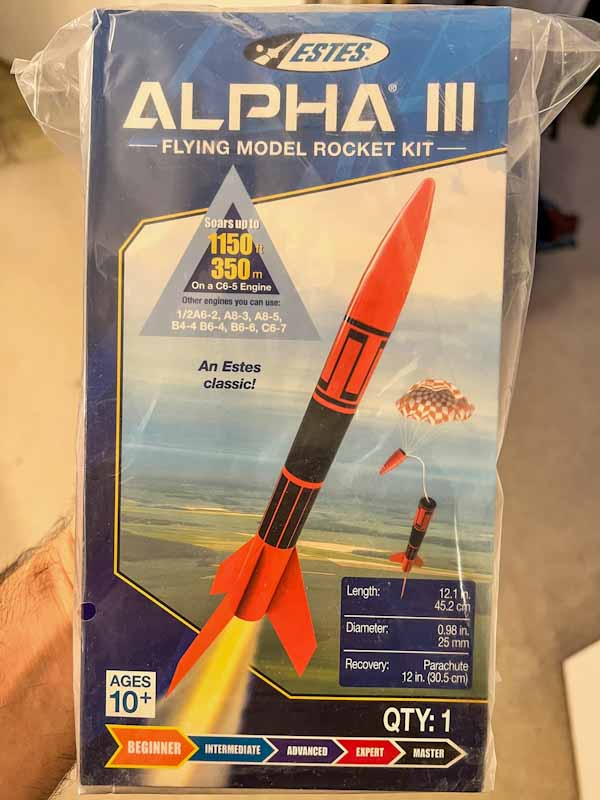
Anything in their beginner series will be pretty easy to build, but with over 30 kits classified as beginner, the choice can still be overwhelming. I recommend the Estes Alpha III rocket; this is my go-to beginner rocket. There is some assembly required, but it’s super easy to build and is something you and your kids can do together.
If you’re interested in looking into other beginner rocket options, check out Best Beginner Model Rockets to Build and Launch with Your Kids. I go into much more detail about choosing the right rocket and the different building options.
The really good news is that the Alpha III comes in a launch set. This means it includes a launch pad and a launch controller, both necessary to launch your rocket (and once you have it, you’re good for just about every low-powered rocket you fly). This is also much cheaper than buying the launch pad and launch controller separately.
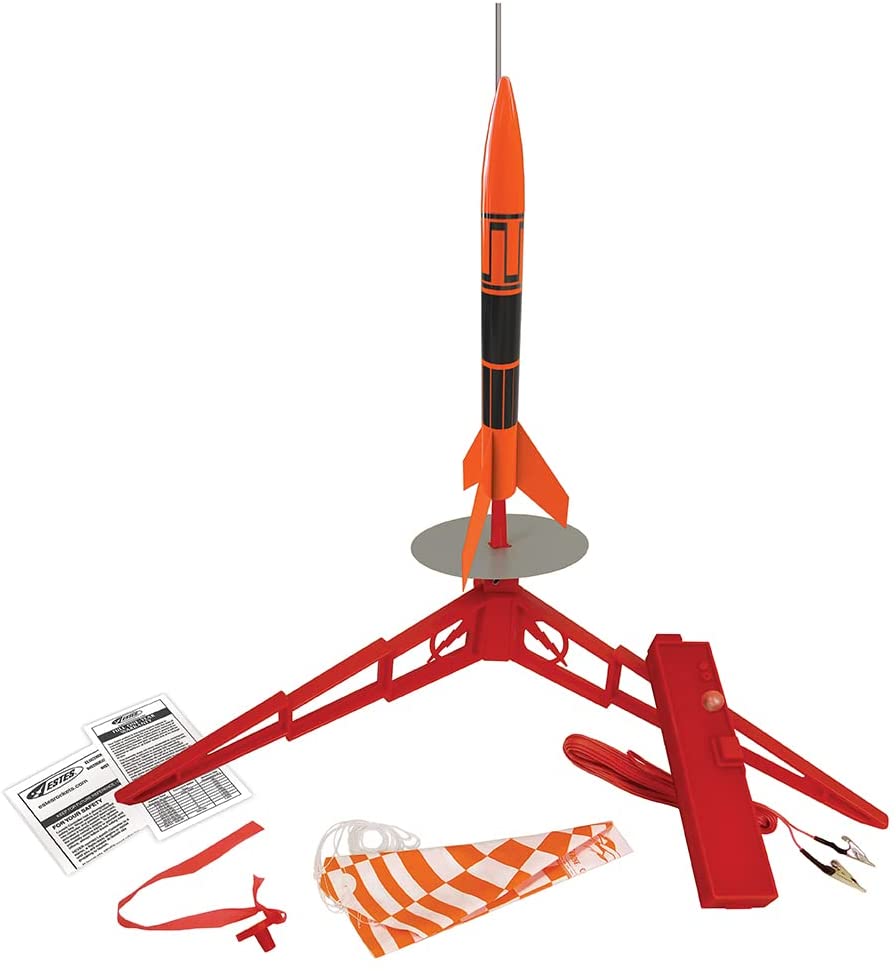
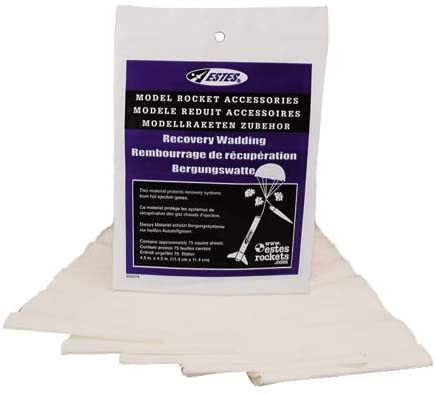
Other materials not included in the launch set that you will need to buy are recovery wadding (more on what this does later) and batteries for the launch controller. While there are a couple brands of wadding out there, get a packet of the Estes recovery wadding. It comes with 75 sheets, averages about $.10 a sheet, and should last you about 25 flights. (Check out How to Use Recovery Wadding in Model Rockets to learn more)
Building the rocket is easy (and for anyone who has built a model rocket before, you know how fiddly gluing the fins used to be). Just follow the directions and let the glue dry!
How to Choose the Right Rocket Engine
Of all the things you need to buy to launch a model rocket, this can be the trickiest. There is a lot you can learn about rocket engines (and I have a lot more to say in How to Choose a Model Rocket Engine), but I’ll keep things simple for right now and stick with recommended engines for the Alpha III rocket.
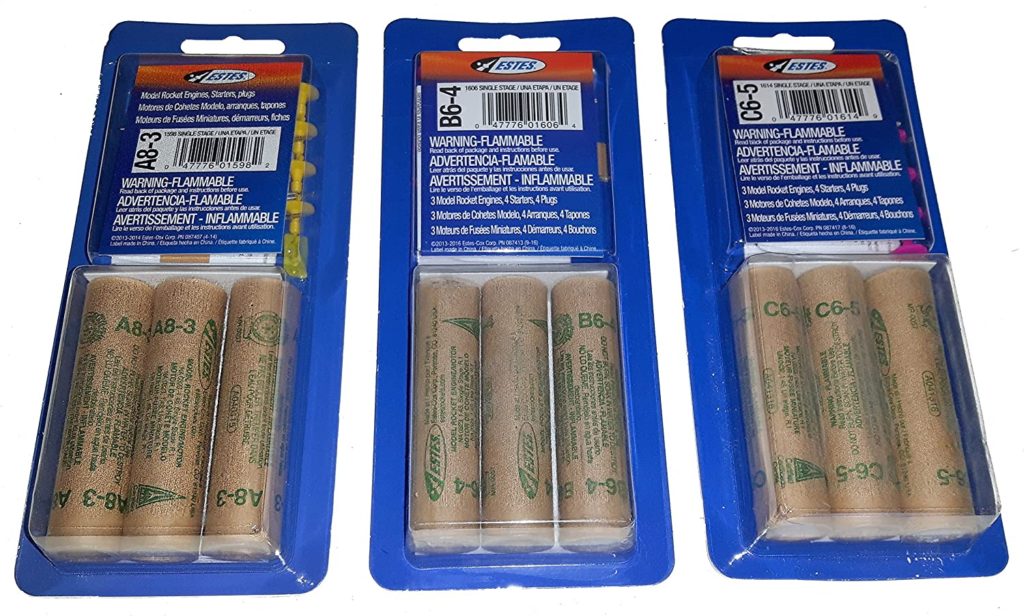
The recommended engines for an Alpha III rocket are 1/2A6-2, A8-3, A8-5, B4-4, B6-4, B6–6, C6-5, C6-7. For now, all you really need to understand is that the letter refers to the Total Impulse or the total amount of energy in that motor. The higher the letter, the more total energy it will have. “1/2A” will have half of the total energy of an “A” engine. The engines above are listed in order of how high the engine can launch your rocket, from lowest to highest.
Now before you get all excited and buy all “C” engines because more power is better, let’s tap the breaks and think this out for a second. First, let’s stipulate you’re going to want to launch this rocket more than one time (have I mentioned you get to reuse this rocket over and over? Yeah, that’s kind of the fun of this).
So before you put the biggest engine in, plan to start with one of the “A” engines (Either the A8-3 or A8-5 will do. We’ll just skip the 1/2A. It’s a little too sissy for me.). This will give you a chance to see what the wind is looking like and how much your rocket blows in any direction as it comes down.
You’re going to want to adjust your launch direction to go slightly into the wind so when it descends and the parachute is deployed, it doesn’t blow to the other side of town. And although a “C” engine will give you a really high launch, it also means a greater chance of the rocket getting blown away on its much longer descent (I still see my youngest son’s first rocket in the trees whenever I take him to a soccer game…).
My recommendation is to get a variety pack of rocket engines. The one below comes with a pack of A, B, and C motors. This gives you a chance to launch a lower power motor and work your way up to a higher power motor.
Find a Launch Location
According to the NAR (National Association of Rocketry. www.nar.org) model rocket safety code, model rockets should be launched in an open area (with as few trees around as possible), in safe weather conditions with wind speeds no greater than 20 miles per hour. There should be no dry grass near the launch pad and should not pose a risk of a grass fire.
The following table show’s the NAR’s suggested minimum field size for the size motor you’re using. A football or baseball field is great for class A and B engines. A football field is about 200 feet wide (if you include the coach and team areas) and about 300 feet long, so a single field is a little small for a C engine. A community soccer or baseball complex with multiple fields should be enough
| Installed Total Impulse (N-sec) | Equivalent Motor Type | Minimum Site Dimensions (ft) |
| 0.00 – 1.25 | 1/4A, 1/2A | 50 |
| 1.26 – 2.50 | A | 100 |
| 2.51 – 5.00 | B | 200 |
| 5.01 – 10.00 | C | 400 |
| 10.01 – 20.00 | D | 500 |
| 20.01 – 40.00 | E | 1,000 |
| 40.01 – 80.00 | F | 1,000 |
| 80.01 – 160.00 | G | 1,000 |
| 160.01 – 320.00 | Two G’s | 1,500 |
Other considerations for picking a site include avoiding major roads and staying away from any airports. While a descending rocket isn’t likely to do any serious damage to a car, it could freak out a driver and cause an accident. And we definitely don’t want that.
Can I Launch a Rocket in My Backyard?
One question that often comes up is can I launch in my backyard? Unless you live on a farm or just own a lot of land, it’s probably not a good idea. Even with a low-powered engine, you’re likely to get your rocket stuck in a tree, power lines, or on someone else’s roof.
If you do live on some land though, then by all means, go for it. As long as you have enough open space (as recommended by the NAR chart above), you’ll be fine. In fact, can I come over?
Launch Day
Supply Checklist: Items You Need to Bring to Launch Your First Rocket:
If you really want to get organized, a fishing tackle box is a great thing to use as a field box in order to keep everything in one place. I’m personally not so organized, so if you decide to put everything in a small box, you won’t get any judgement from me. How you organize is your business, but here’s a minimum checklist for your launch day:
- Rocket
- Rocket engines
- Ignitors and plugs (they come in the packet of engines)
- Recovery Wadding
- Launch Pad
- Launch Controller
- Extra batteries (trust me, you don’t want to have to stop everything to run out for new batteries for the launch controller)
- Pencil (to help stuff the recovery wadding)
- Tape (painter’s tape is fine. This is more in case you need to do some emergency fixing)
Of course the more you get into the hobby, the more you’ll personalize your own box. For now, this is the minimum you need for your first launch.
How to Set Up for Launch:
The first thing you’re going to want to do when you get to your launch site is figure out exactly where to set up your launch pad. It’s a good idea to be right in the middle of the most open area. Stay away from populated areas and traffic.
Check the weather conditions. Is there any wind? If so, how much? As a rule, do not fly your rockets if wind speeds are 20 miles per hour or higher, even if it only gusts to those speeds.
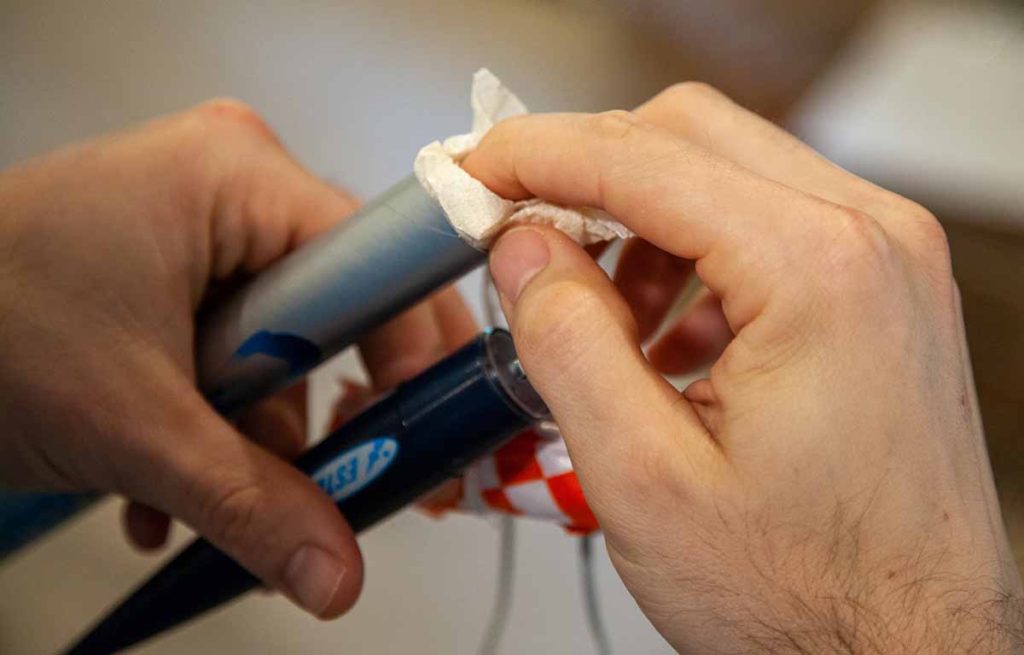
Assemble your launch pad and unroll the wires of your launch controller to position yourself as far from the launch pad as your wire allows (at least 15 feet). If you haven’t already, wad up and put three pieces of the recovery wadding into the rocket. This should sit in your rocket between the engine and recovery system. Use a pencil to push the wadding into the body of the rocket. While you don’t want to pack it too tight, you don’t want it too loose either. There should be enough room for the parachute/streamer and the wadding should be loose enough to slide out when the ejection charge goes off.
Fold up the parachute/streamer according to the manufacturer’s directions, insert it in the body of the rocket, and put the nose cone back on.
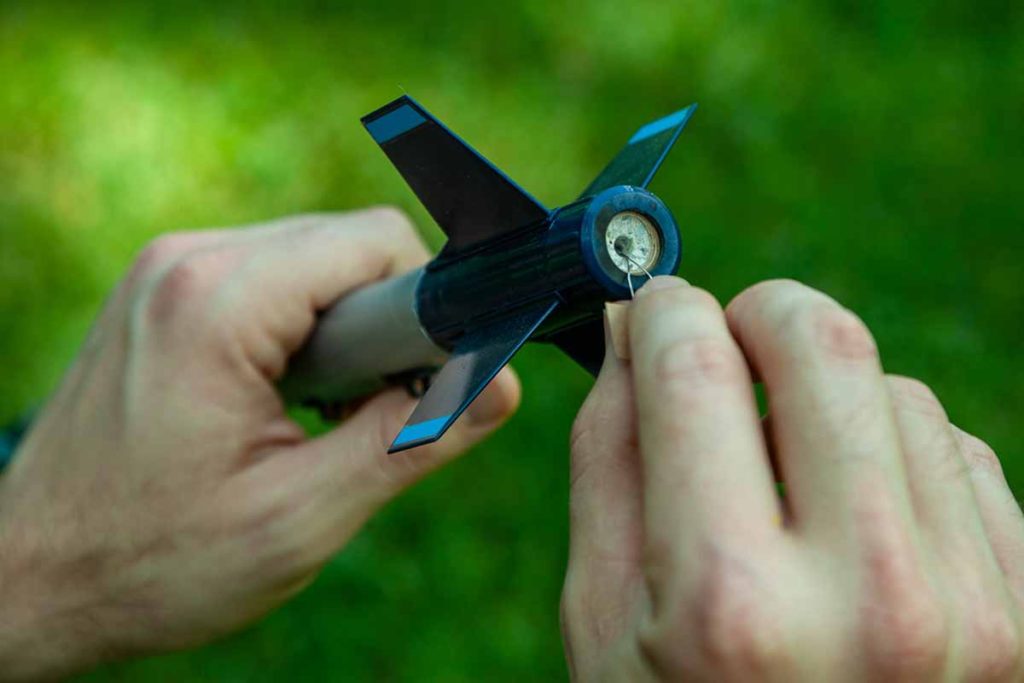
Place the lowest power engine into the rocket (you always want to start with your lowest power engine for your first flight). Insert an igniter into the little hole in the rocket engine, and gently insert one of the igniter plugs.
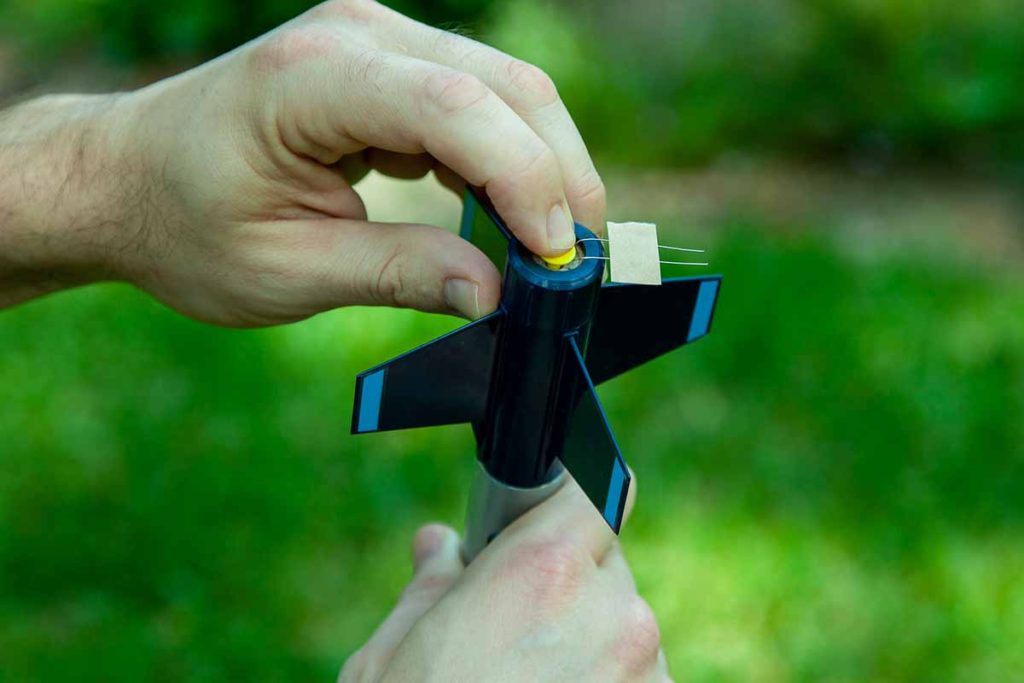
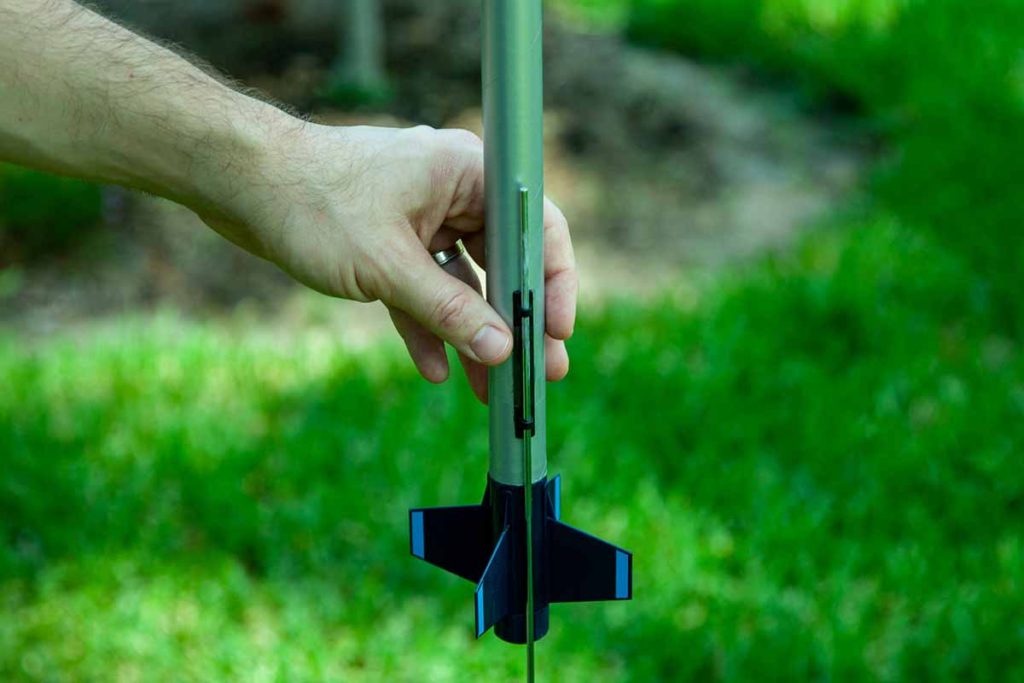
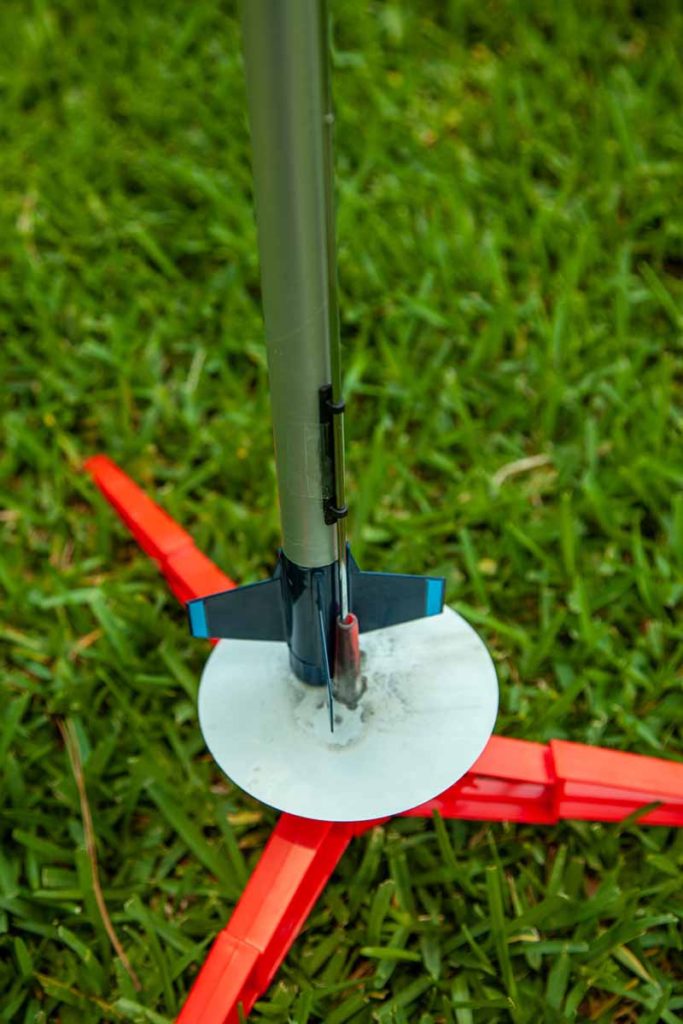
Gently slide the rocket onto the launch pad, inserting the launch rod into the launch lug.
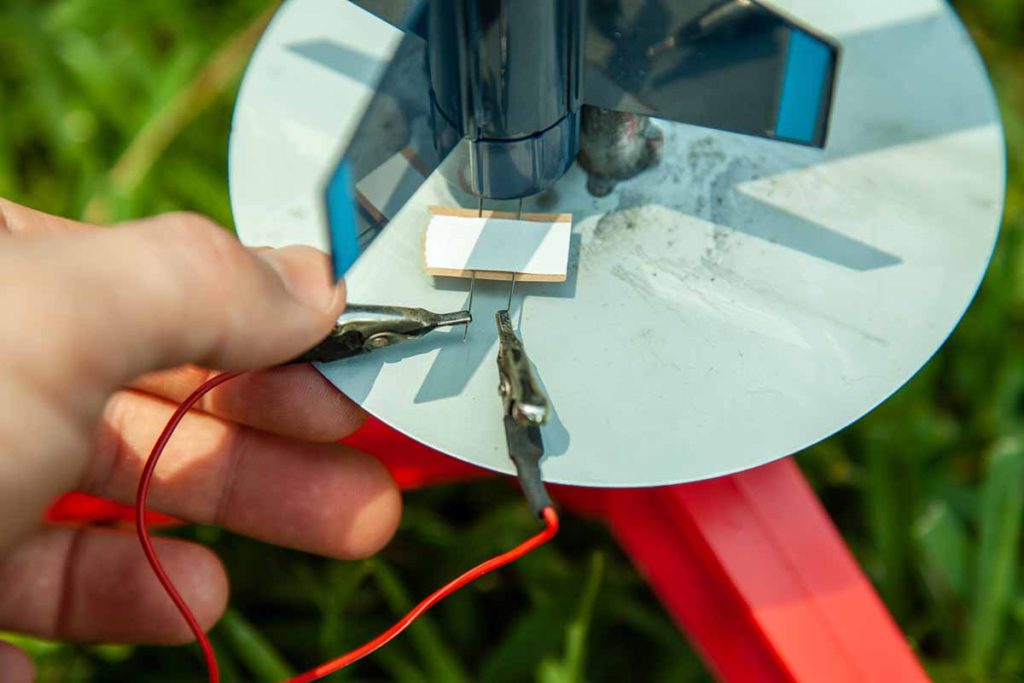
Clip the two alligator clips from the launch controller onto the igniter. Make sure the clips do not touch each other. The only point of contact for the wires should be at the tip of the igniter. This point of contact will heat up when there is an electrical charge and ignite the rocket engine.
Double check that the wind conditions have not changed (believe me, they can and have. I still have a rocket in a tree to prove it).
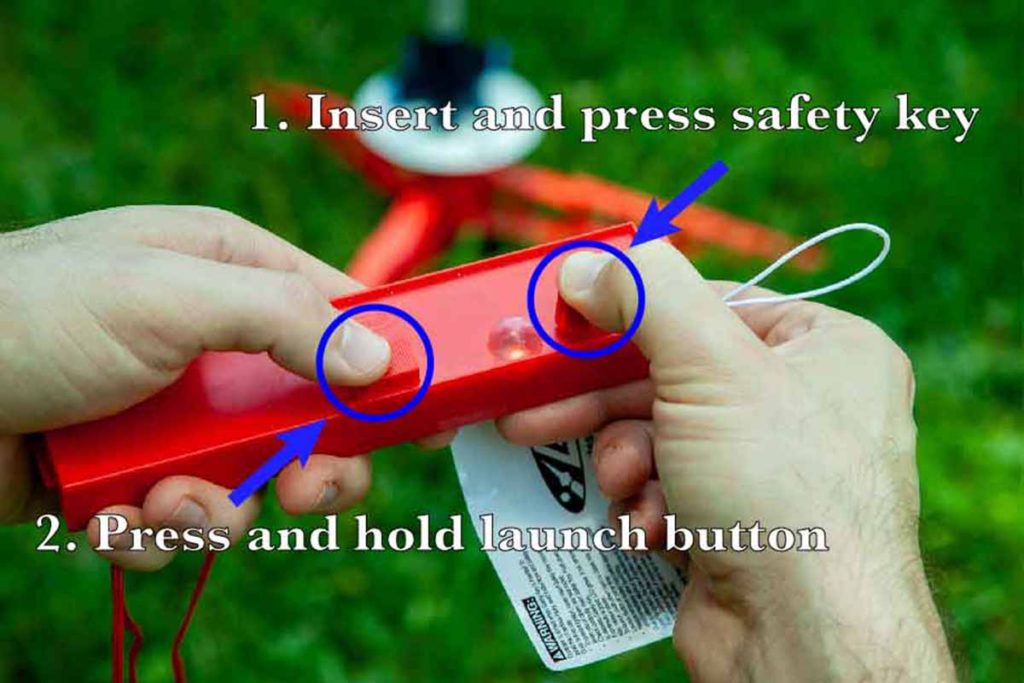
Once everything is ready, insert the safety key in the launch controller (if it’s the Estes launch controller, you will need to push down and hold the key. An LED should light up). Loudly do a countdown (my boys LOVE doing this) and then press and hold down the launch button. Once the rocket takes off, release both buttons, and start chasing that rocket!
Diving Deeper into Model Rocketry
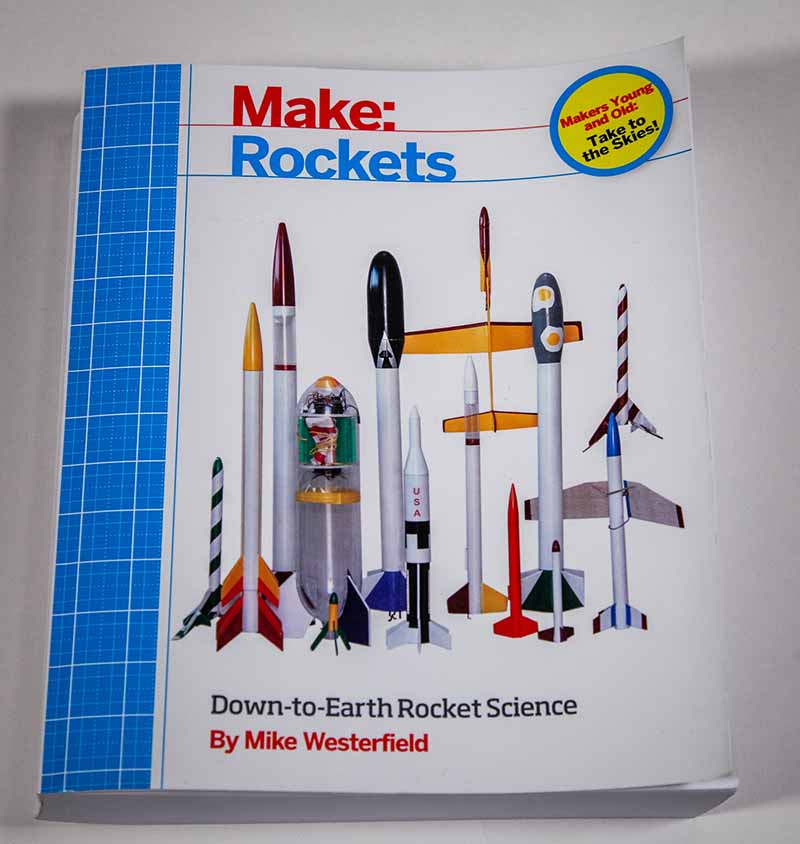
If you find yourself getting seriously into rocketry and you want to learn more, check out Make: Rockets by Mike Westerfield. Make is an awesome resource for so many things STEM-related and this book will give you everything you need to know about low-powered rocketry including compressed air and water rockets.
This book is no-joke and is about 1½ inches thick. This book has become my rocket bible and is a great resource (and no, Make did not ask me to say any of this).
Related Posts
Flying rockets is super fun. My kids and I have a blast launching them into the sky and chasing them down. We love the idea of putting in a stronger engine each time and seeing how high we can...
Model Rocket Engines: Choosing the Right One for Your Rocket
One of my favorite childhood memories was building and launching model rockets. There’s something so cool about the idea that I can take some basic materials (mostly paper-based), glue it together,...