

We may receive commissions from purchases made through links in this post, at no additional cost to you.
Lately, I’ve been having too much fun with Kool-Aid. Not only do I have fond nostalgia for these flavors from my childhood (especially blue raspberry lemonade), but using Kool-Aid simplifies much of the candy-making process. You don’t need to deal with food coloring, citric acid, or any flavoring. The gummy bears are still 100% homemade and they taste amazing!
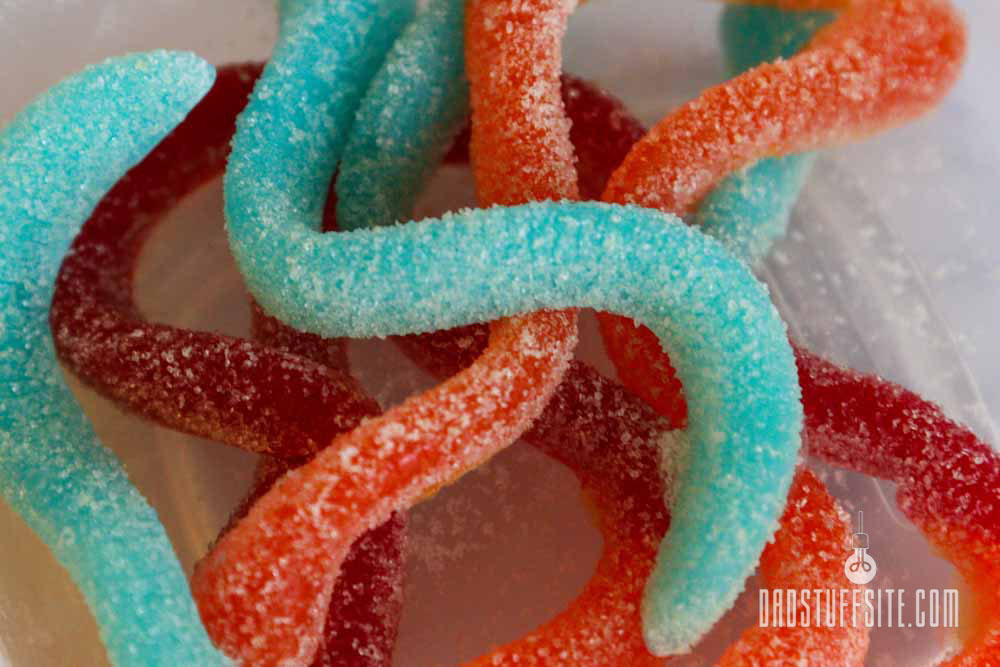
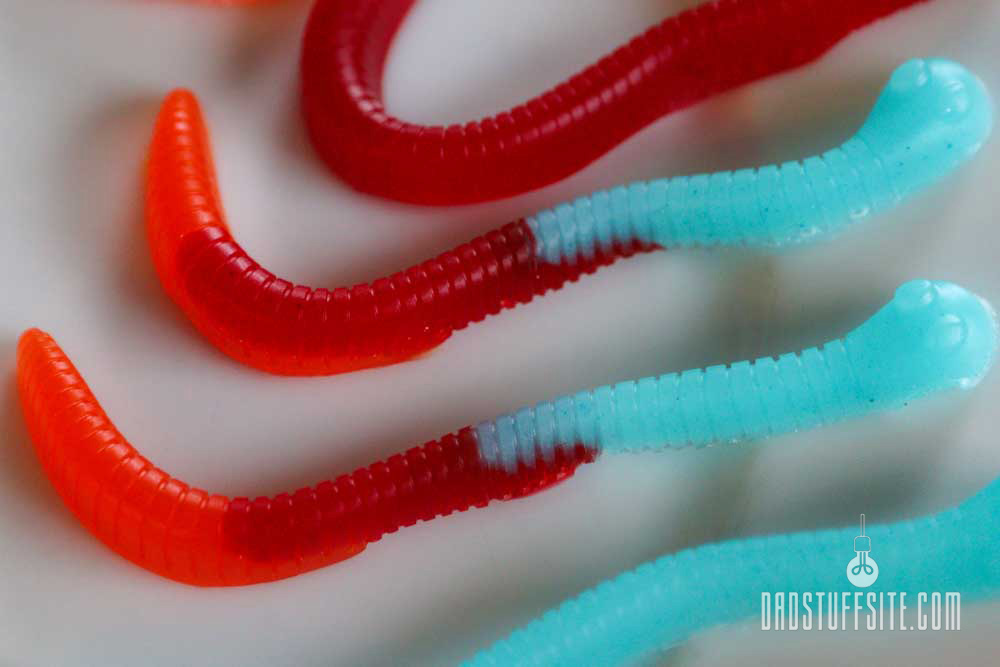
My family has a large weak spot for gummy candies, especially the sour ones. My wife can’t go on a road trip without a bag of sour gummy worms. I became her personal superhero when I decided to make a batch of these gummies in worm molds and roll them in some Country Time instant lemonade mix (as you’ll see below!). Trust me, you’ll want to try this.
Looking for more Kool-Aid recipes? Check out how to make Homemade Lollipops (Using Kool-Aid!)
Ingredients
- 1 cup sugar
- 2/3 cup light corn syrup
- 3/4 cup water
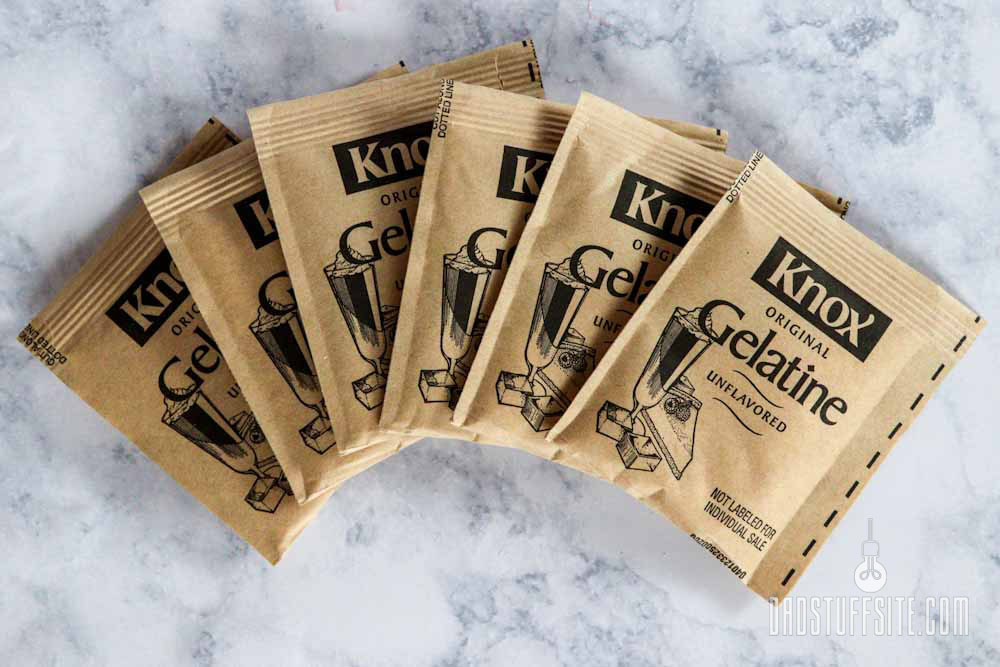
- 6 packets of Knox gelatin
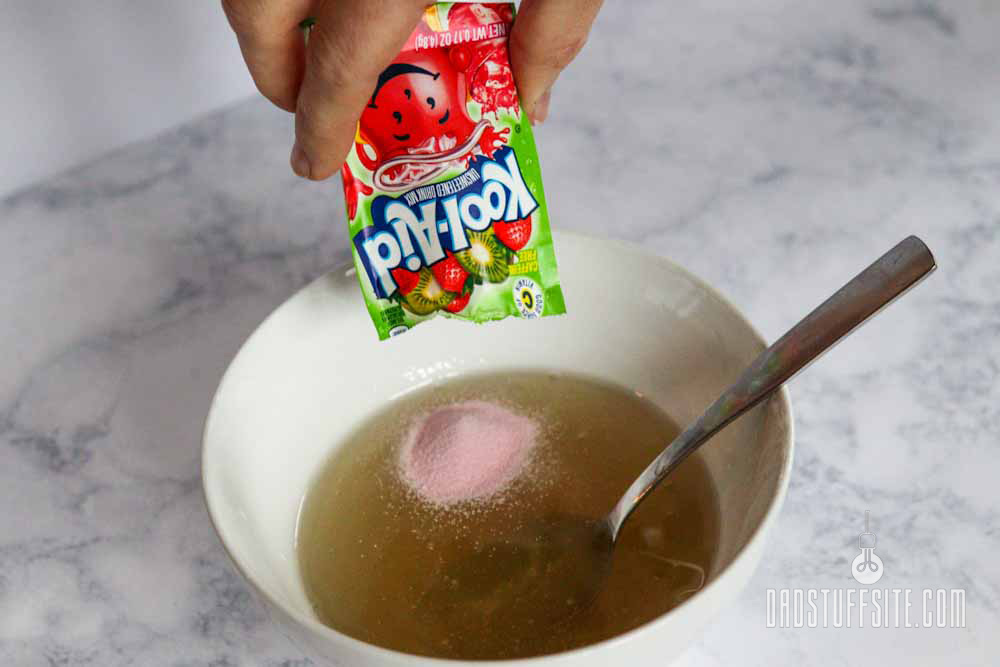
- 2-3 packets of unsweetened Kool-Aid
- Opt. corn starch or instant lemonade mix (something like Country Time Lemonade) for dusting
This article is originally from www.dadstuffsite.com
Equipment
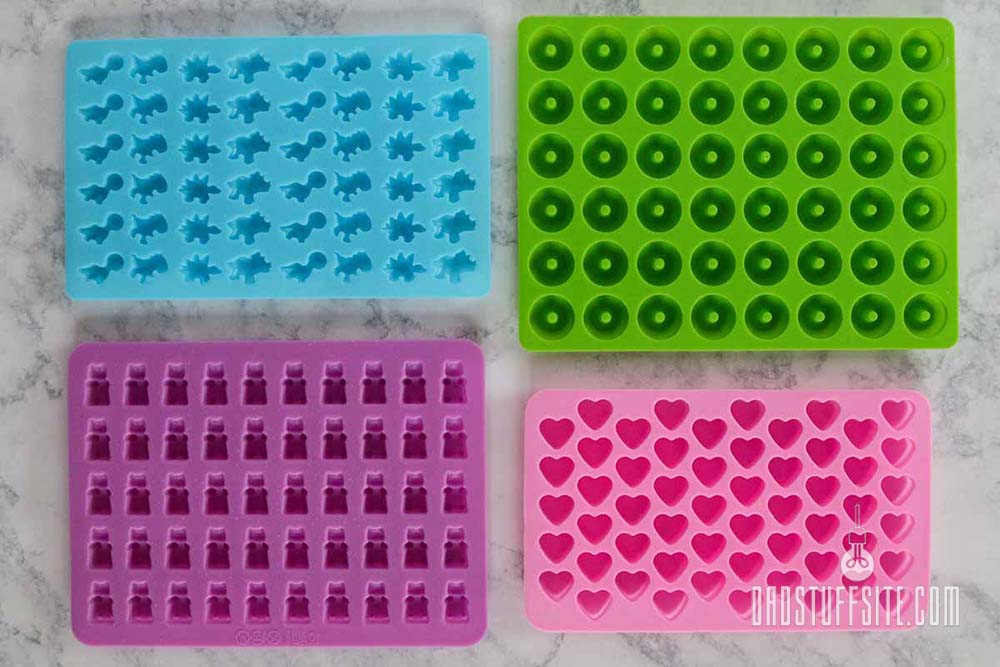
One of the fun things about this recipe is that you don’t need much equipment. All you need are some gummy bear molds from Amazon. I recommend you get ones that come with droppers (they look like mini turkey basters).
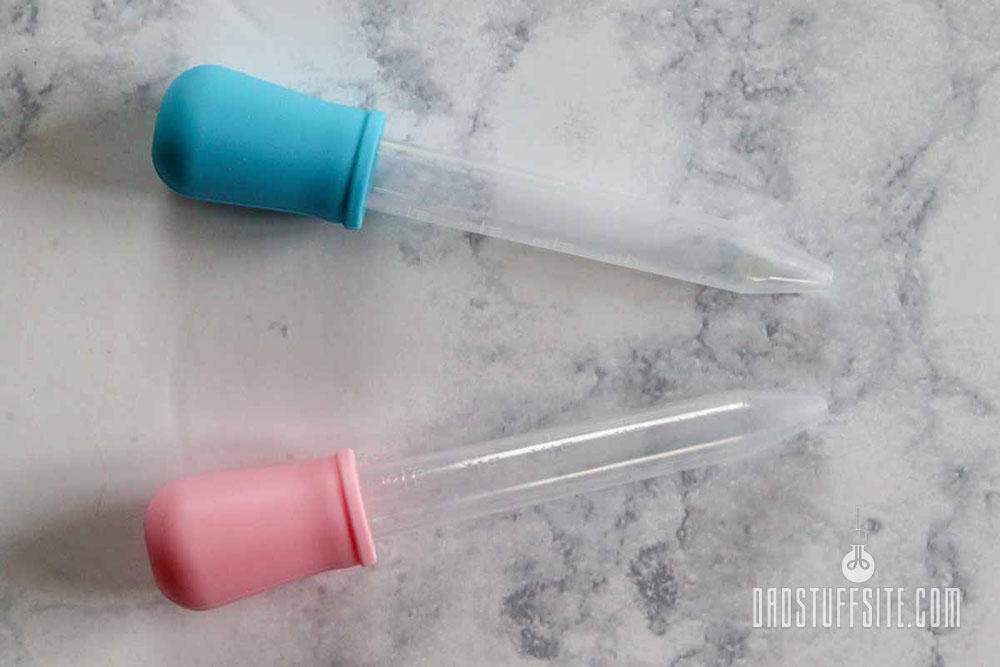
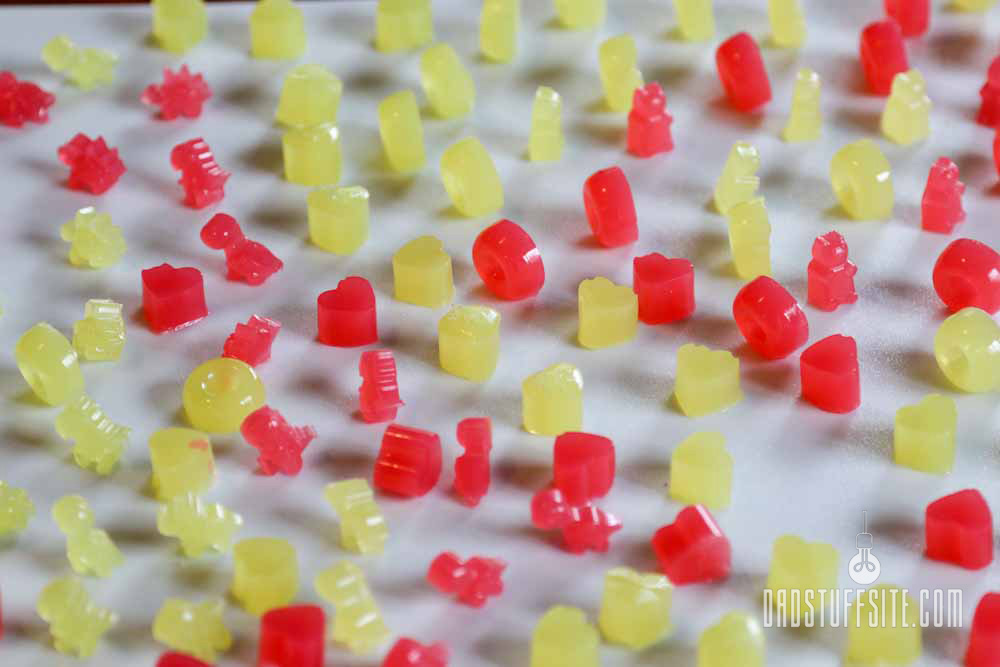
You can get gummy bear molds in lots of fun shapes. The one I bought came with two droppers and four different molds: bears, donuts, dinosaurs, and hearts. Each mold makes around 50 miniature gummies.
They also make larger gummy molds (like this one). Either size mold works just fine. If you want bigger gummies, get the larger ones. Personally, I like the smaller molds because it’s the size of the gummy bears I had growing up.
Hobby Lobby also has a really good selection of gummy molds at a price comparable to Amazon (but without the droppers). Their gummy bear sizes are somewhere in between the mini and large ones on Amazon.
This recipe filled up all four of my trays (totaling around 200 hundred gummies). Some molds are a little smaller than others. For example, the hearts are deeper and the donuts are larger, so they held a lot more of the gummy mixture. The bears and dinosaurs were smaller. If I only used those molds, I would probably make closer to 300. If you’re getting the bigger molds, this recipe should make around 100.
This article is originally from www.dadstuffsite.com
If you want another great, easy homemade candy recipe, check out how to make Homemade Candy Dots (Using Kool-Aid!!!).
Directions
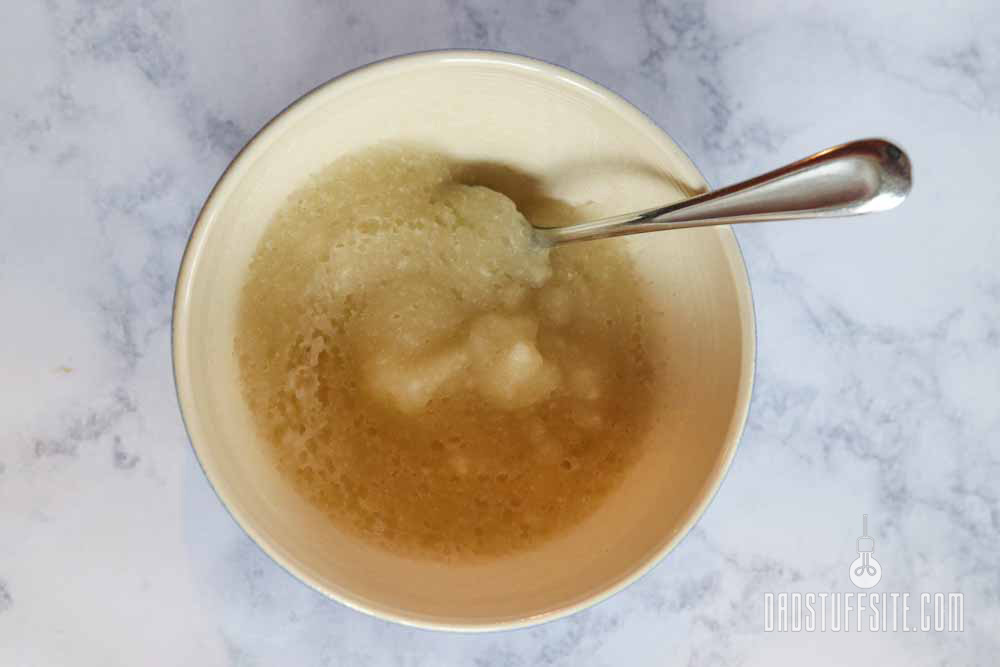
- Combine the gelatin and water in a bowl. Mix together and set aside for 5 minutes to bloom.
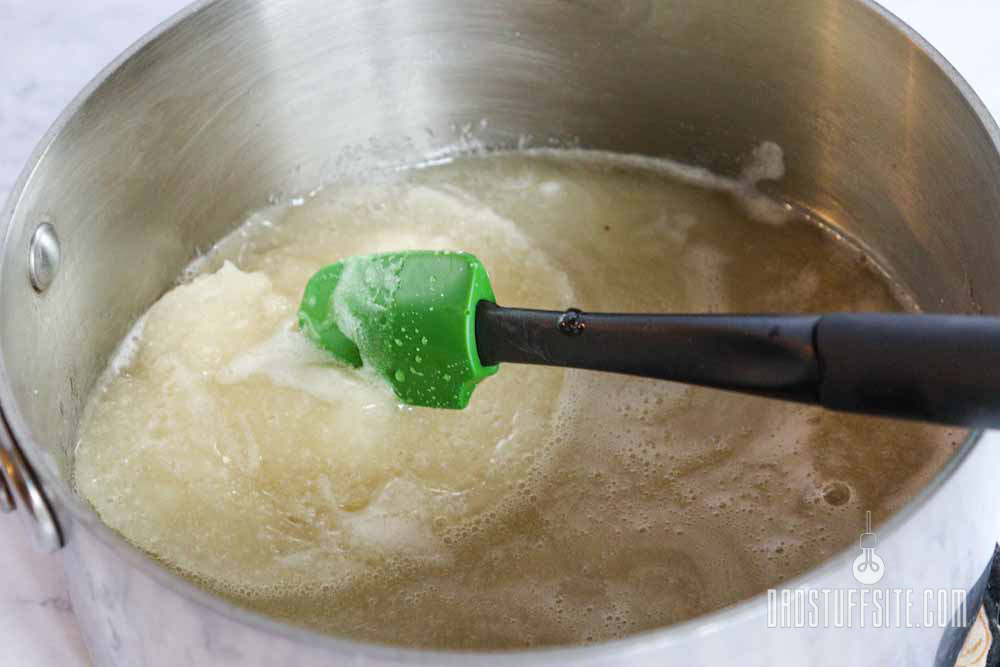
- In a medium saucepan, combine the sugar and corn syrup. Stir over medium-high heat until all the sugar has dissolved. The initial mixture will look a bit dry at first, but when the sugars warm up, the granulated sugar will dissolve into the corn sugar (just keep stirring so nothing burns!).
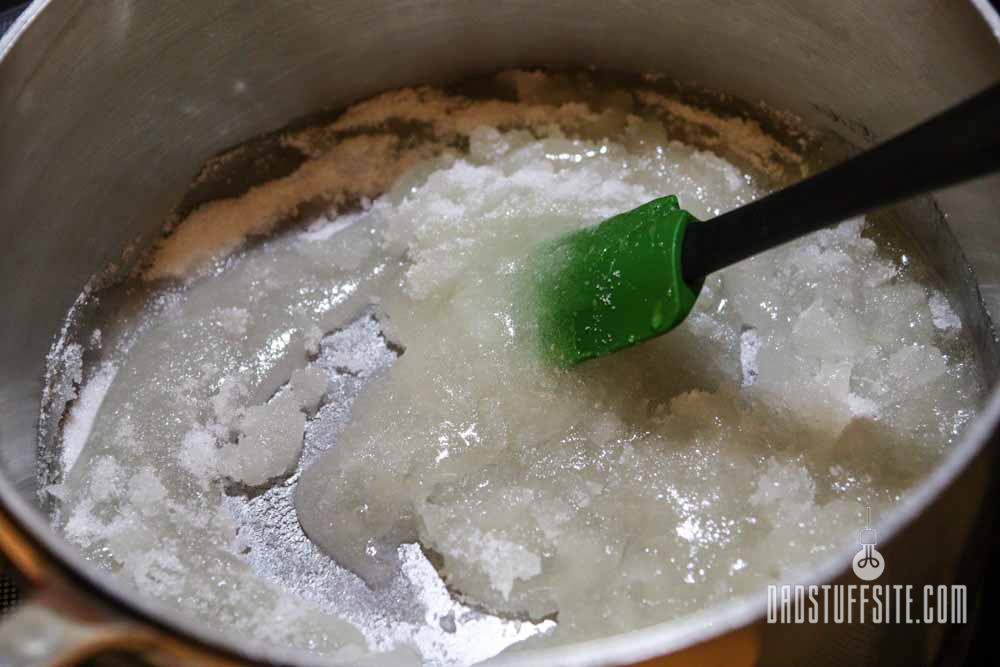
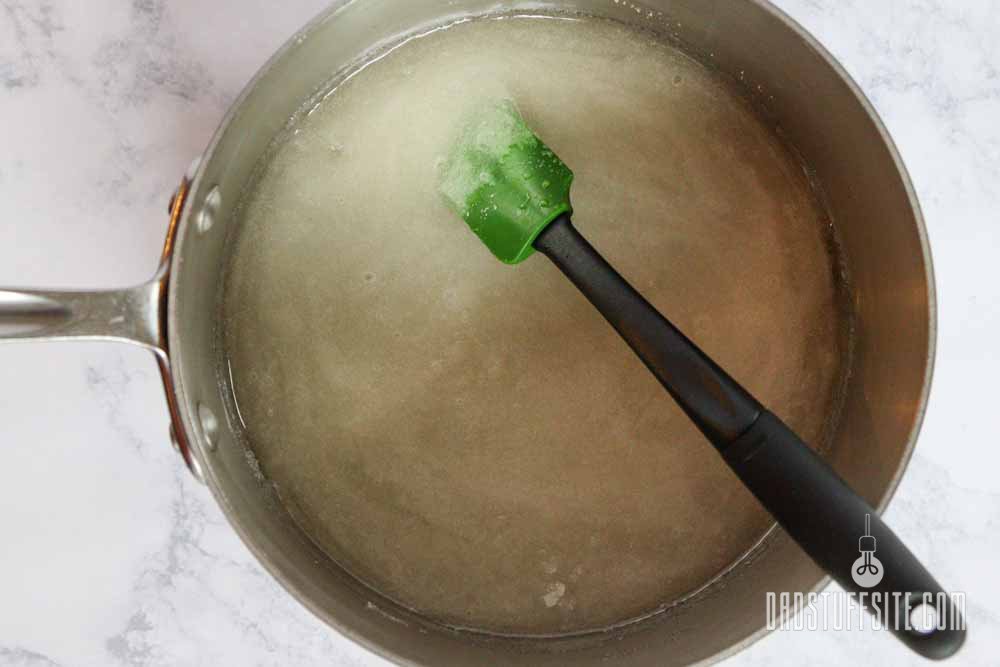
- Once the mixture gets to a simmer and all the sugar is dissolved, remove the saucepan from the heat. Add the gelatin to the sugar mixture and stir until completely dissolved (the gelatin will have bloomed into a single gelatinous mass by now).
This article is originally from www.dadstuffsite.com
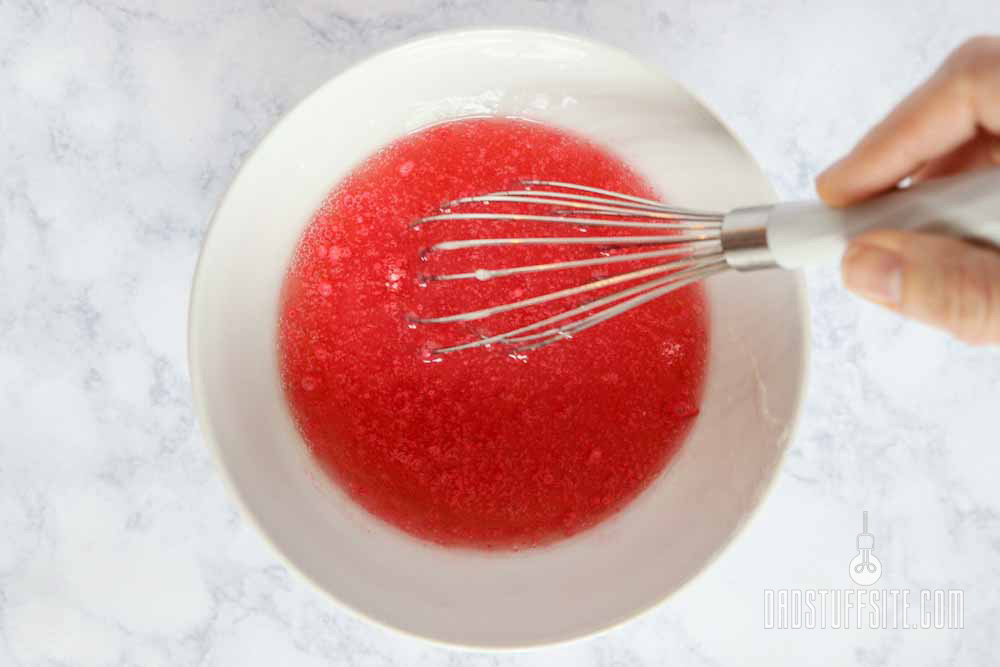
- Carefully pour the mixture into two bowls, divided equally. Allow the mixture to sit for a couple of minutes without mixing. Any foam will settle to the top and become firm. Use a spoon and skim off the foam. This step keeps the gummy candy clear and bubble-free. The foam won’t go away unless you skim it off.

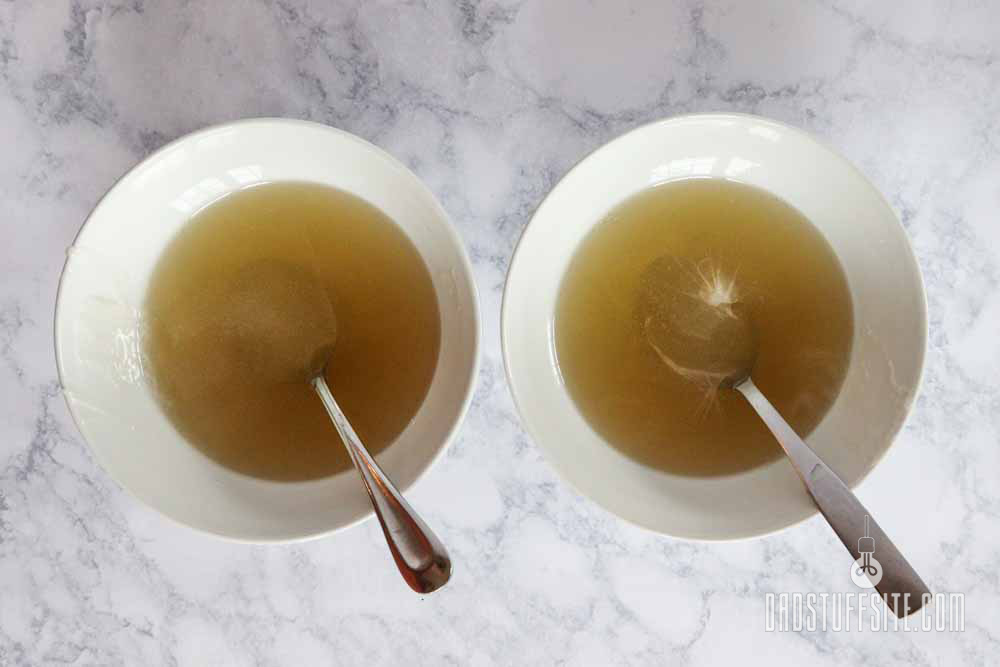
- Add a packet of Kool-aid mix to each bowl and mix until fully combined.
DadStuff Tip: Use a whisk to mix the Kool-Aid with the sugar mixture. The Kool-Aid will be a little lumpy and it’s much easier to combine with a small whisk than a spoon
- Pipe the mixture into the gummy molds.
DadStuff Tip: Be careful not to make bubbles with the gummy droppers. Avoid sucking in air and squeezing out bubbles. They’re kind of a pain to get rid of. I found using the dropper to suck the bubble was the only way to get rid of it.
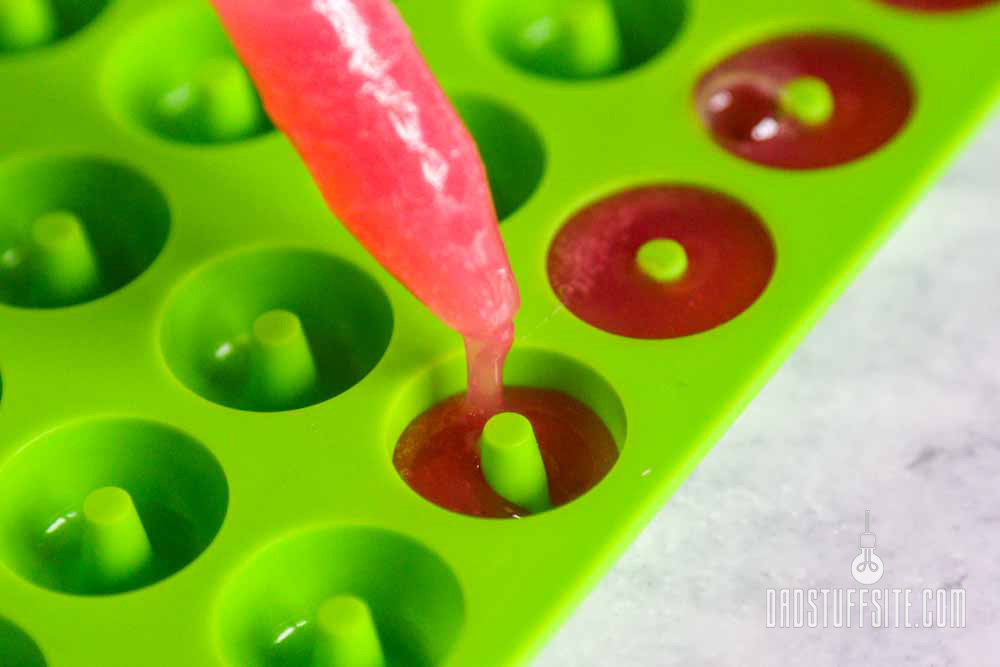
DadStuff Tip: If you find the gummy mixture is getting a little too firm or sticky to pipe, microwave the mixture for about 5 seconds and give it a good stir.
- Let the gummy bears sit in the refrigerator for a couple of hours to set. Larger molds will take longer. Letting them sit overnight is best. When they’re firm, pop them out of the mold and enjoy!
Tips and Variations
Avoiding Stickiness
Even though the gummies will be firm enough to take out of the molds in a couple of hours, longer time in the fridge will make them less sticky.
If the stickiness is still too much, dust the gummies with some corn starch and let them sit out uncovered for a day or so. I found storing them in an airtight container right away creates too much humidity and the gummies will get gloopy.
The cornstarch makes the gummy bears look a little dusty, but it’s flavorless so it won’t affect the taste or mouthfeel. It will create a coating that will prevent them from sticking to each other. But if you want to add some more flavor and don’t love the idea of adding cornstarch, toss your gummies in some instant jello mix.
This article is originally from www.dadstuffsite.com

Related: Easy Kool-Aid Candy Popcorn (Fun To Make With Kids!)
A Sour Variation
If you love sour gummies, instead of rolling them in corn starch, try some instant lemonade mix (something like County Time Lemonade). This will give you a similar crunchy sweet/sour taste that you get with sour gummies. If you’re really adventurous, try rolling them in some old-school Tang or other instant drink mixes.
Pour a little lemonade mix into a small bowl, drop in a couple of gummies at a time, and toss to coat. Continue in small batches so the gummies don’t stick together.
Like with the corn starch, you’re going to want to let them sit uncovered for a day (otherwise the sugar coating is going to absorb water).
This article is originally from www.dadstuffsite.com
Multiple Flavors
You can also use multiple flavors in a single mold. I found if the mixture is still warm, it’s a little runnier. If that’s the case, you’ll want to pour the different flavors quickly. Otherwise the previous flavor will run to the bottom of the entire mold. It’s easier to move faster if you use squeeze bottle instead of droppers.
One of the great things about using Kool-Aid is you can add extra flavoring without overdoing it. The first time I made gummy bears, I split the mixture in half and used two packages of Kool-Aid (as I recommend hint the recipe). In my second batch, I divided the mixture into thirds and used three Kool-Aid packages. The flavor was bigger, but not too much. I haven’t tried four, but I have a feeling I wouldn’t hate it.
This article is originally from www.dadstuffsite.com
Other Fun Shaped Molds
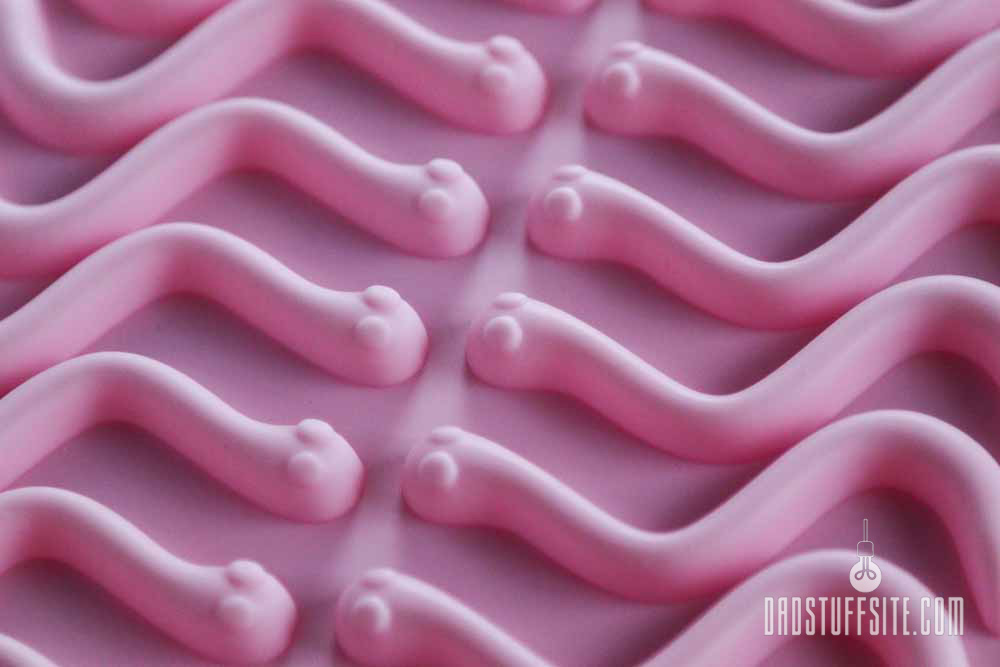
One fun part about making gummy candies is the options for different-shaped molds. As I mentioned earlier, I was able to buy a variety pack of molds that included dinosaurs, bears, donuts, and hearts. You can also with the classic worms (I found mine at Hobby Lobby, but you can also find the same one on Amazon here).
You can get Mickey Mouse molds if you’re a big Disney fan. For Halloween, you can make skulls, or pumpkins and ghosts. Pet lovers will love dog bones and paw prints. They even make Christmas trees and Gingerbread men. I might act like a grumpy old man when I see kids and their technology, but when I see all these choices, I wonder how I ever lived without the internet.
Larger Batches
If you plan to make a lot of gummies, consider upgrading your droppers to some kitchen squeeze bottles like these. You can pour the whole mixture into the container and make the whole piping process go much faster.
You can also keep any bottles you’re not using that have the gummy mixture in a bowl of warm water to keep it from settling.
Related Posts
Lately, I've gotten into making candy with my kids. I figure if they're going to keep asking for sweets, I might as well put them to work and make it ourselves. And while I'm at it, why not introduce...
It's the weekend and in my house, that means family movie night. It also means I get to lighten up on the diet (I have let my dad-bod get away from me). So instead of making regular popcorn, I...