
It’s Christmas time and the family’s over. And I mean the whole family. I’m talking lots of cousins for my kiddos to play with. But before I let the next couple days descend into absolute chaos, I’m going to head things off with some activities they all can enjoy (including the parents).
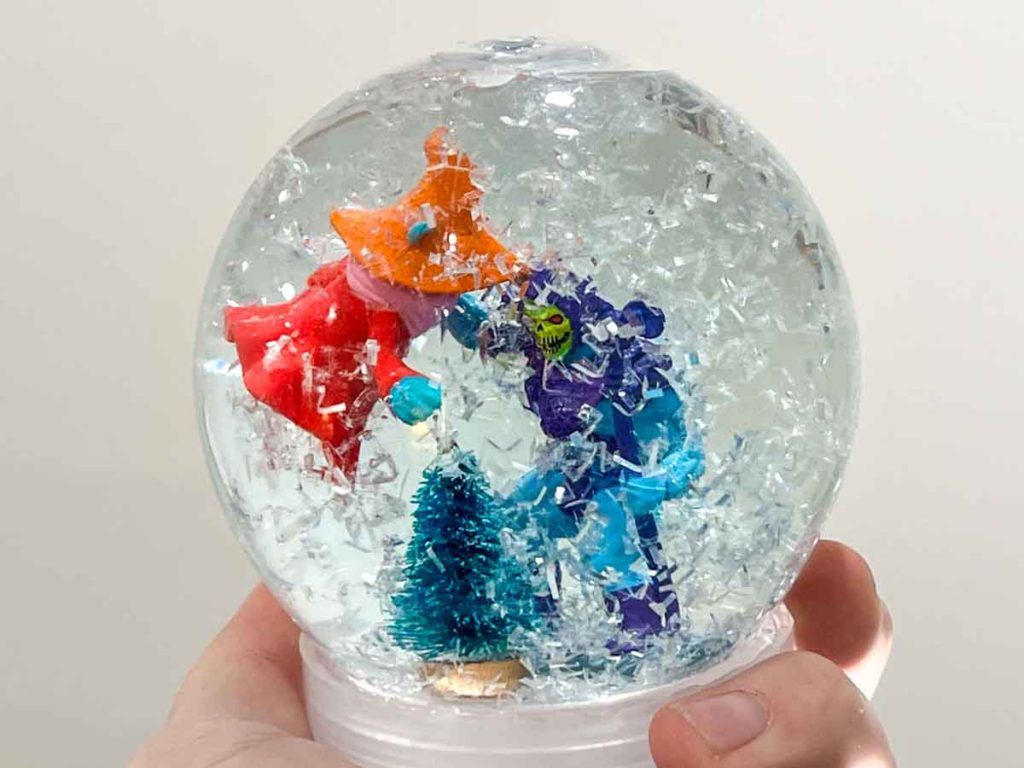
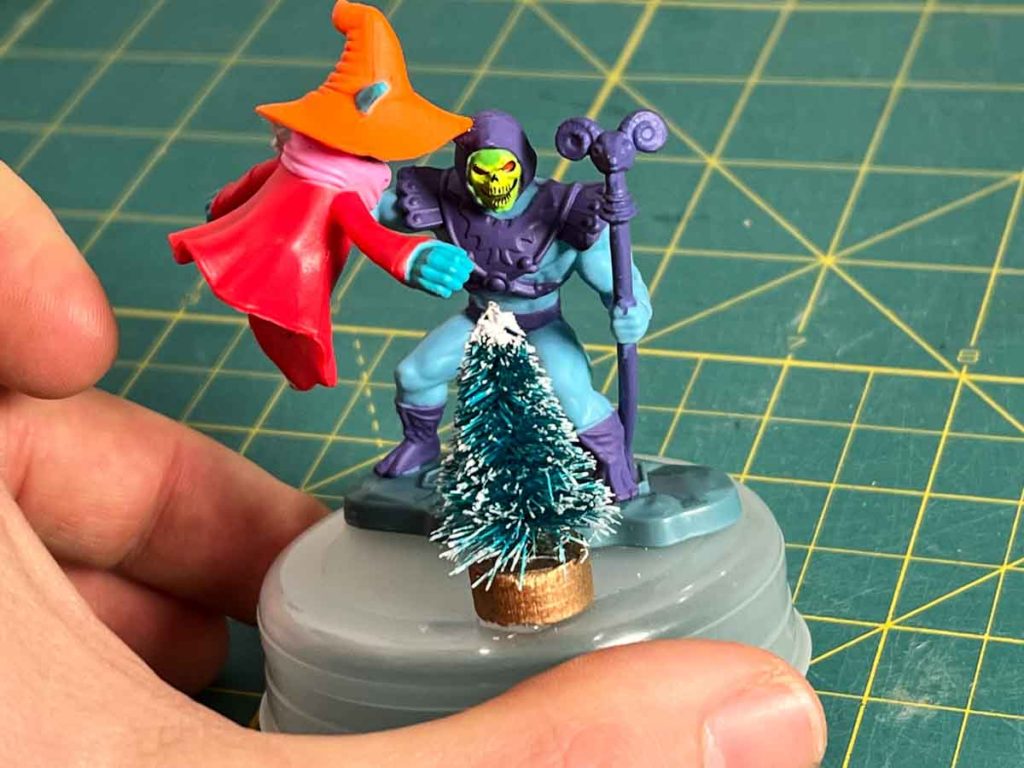
Today, we’re making snow globes. I know there are a ton of mom-blogs out there with cute snow globe ideas, but this is Dad Stuff. No cute snow globes depicting Christmas scenes. I’m making a He-Man scene with Skelator giving a death grip to Orko.
Okay, so it doesn’t have to be He-Man. If you want to make a cute Christmas scene, go for it. The procedure is the same. But gosh darn it, I’m making my He-Man snow globe.
Materials
- Mason jar with lid or empty snow globe (I found these for $1 at Walmart. Not exactly a water-tight seal, but a little petroleum jelly fixed it. Also available on Amazon, but not nearly as cheap.)

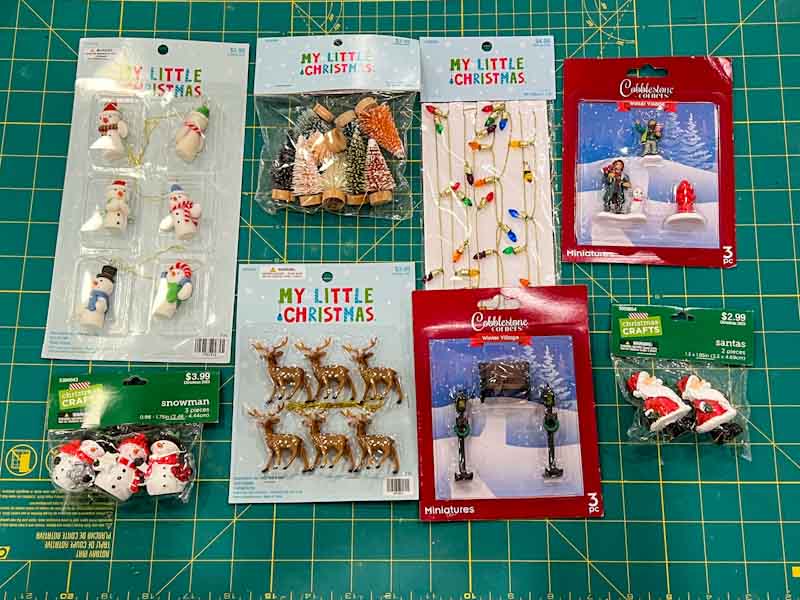
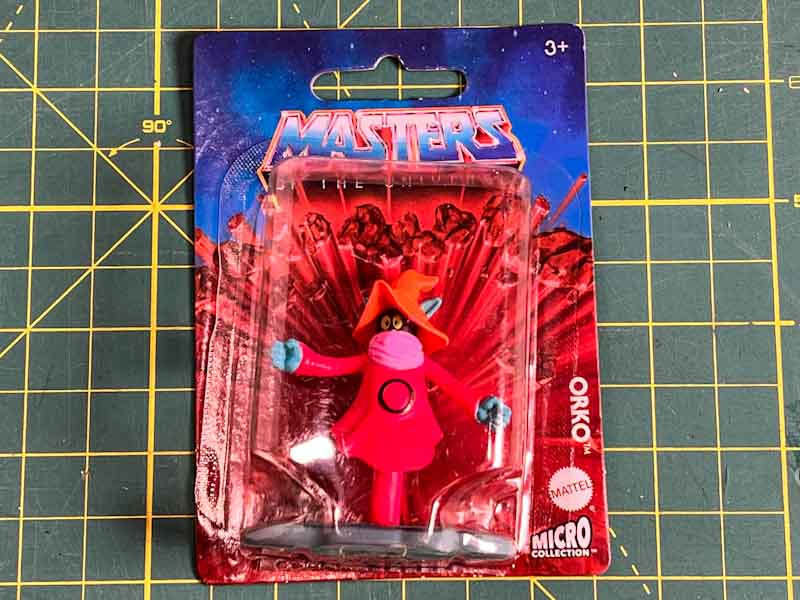
- Mini figures to put into the scene. I found a bunch of great (and cheap) items at Dollar Tree and Hobby Lobby. The He-Man figurines came from Dollar Tree (I couldn’t find them on Amazon).

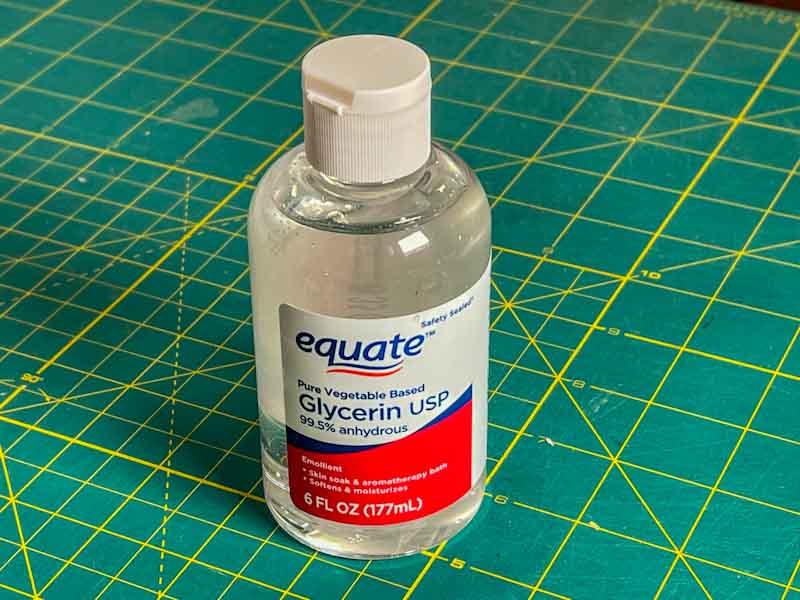
- Glycerin (you don’t need a lot, but it’ll help the snow to fall slower)
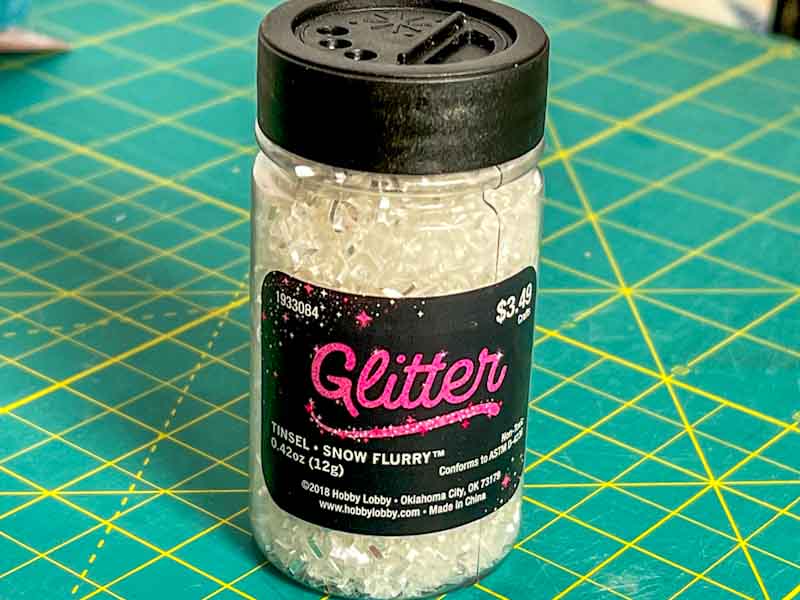
- Snow Flurry Tinsel Glitter (Apparently, they come in all shapes, sizes, and colors. Honestly, just about any glitter will work. I like this one because it looks more “snowy”. I got this one at Hobby Lobby)
- Hot glue (if you have a child that’s overly enthusiastic with their shaking, consider epoxy or a polyurethane glue like Guerilla Glue. It’ll take longer to dry, but it’s way stronger.)
- Distilled water (especially if you use a mason jar with a metal lid. This will avoid and rusting in the future)
- Petroleum Jelly (this is optional but I found it helped create a better seal.
Directions
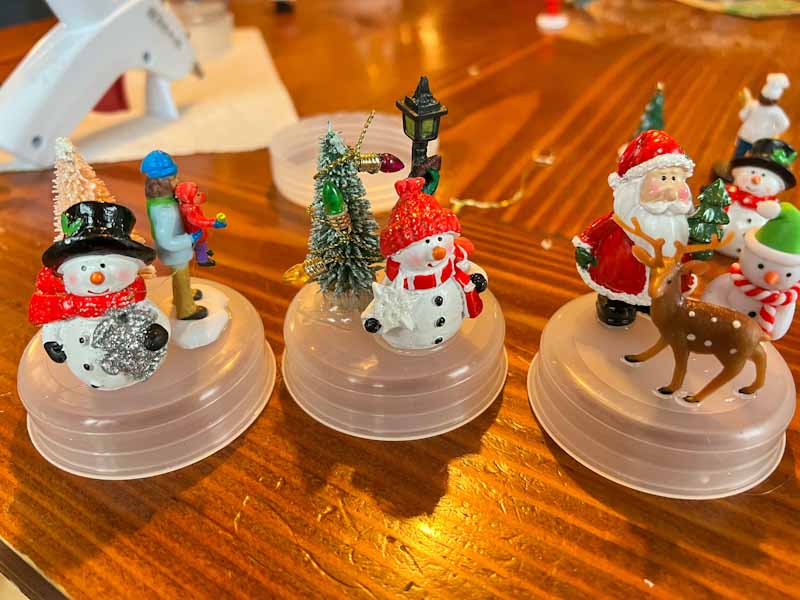
- Glue the figurines to the lid of the snow globe/mason jar.
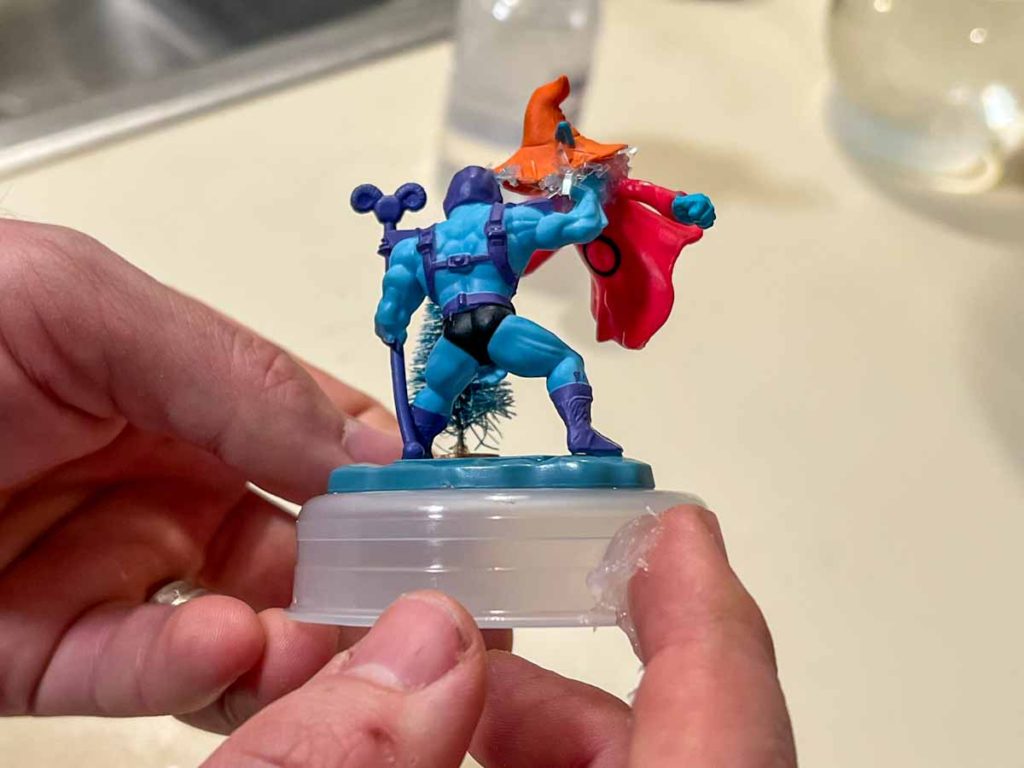
- Smear some petroleum jelly around the lid of the jar. This will help create a better water-tight seal. (I prefer to add it to the lid rather than to the inside lip of the snow globe/jar. This was any extra will get pushed out of the snow globe and not in.
- Fill the snow globe with water (but not quite to the top. Save some room for the figurines)
- Put in a couple drops of glycerin. This will help your snow fall more slowly. Don’t put too much or it’ll make the glitter stick to the bottom.
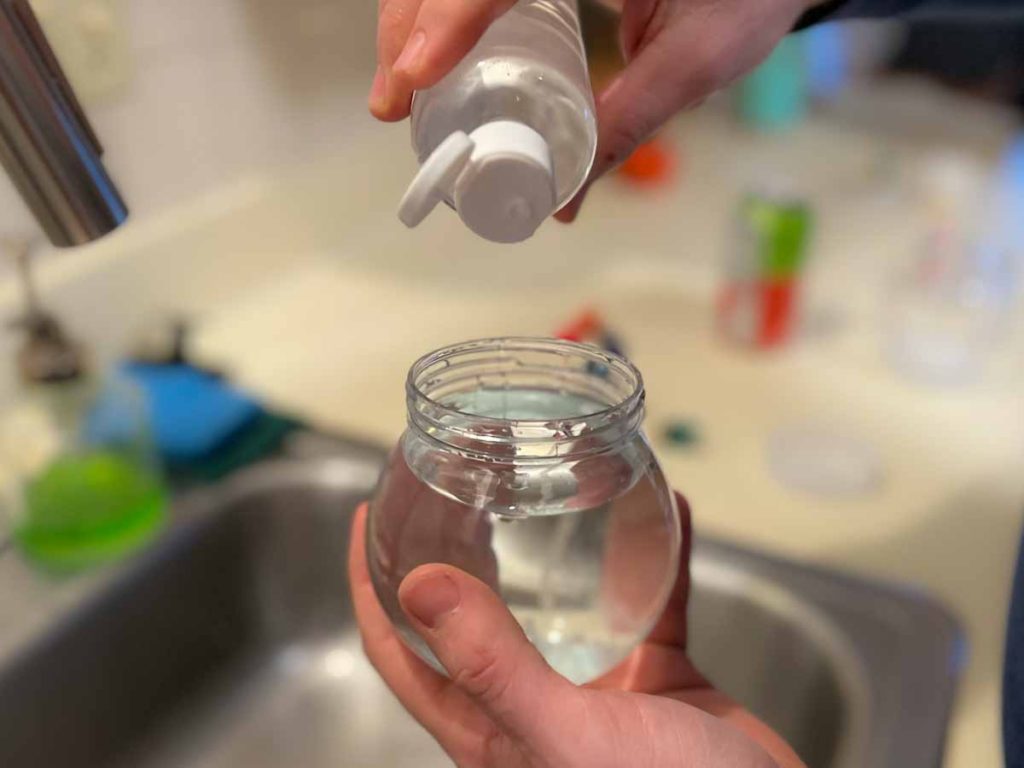
- Put about a tablespoon of the tinsel glitter into the water.
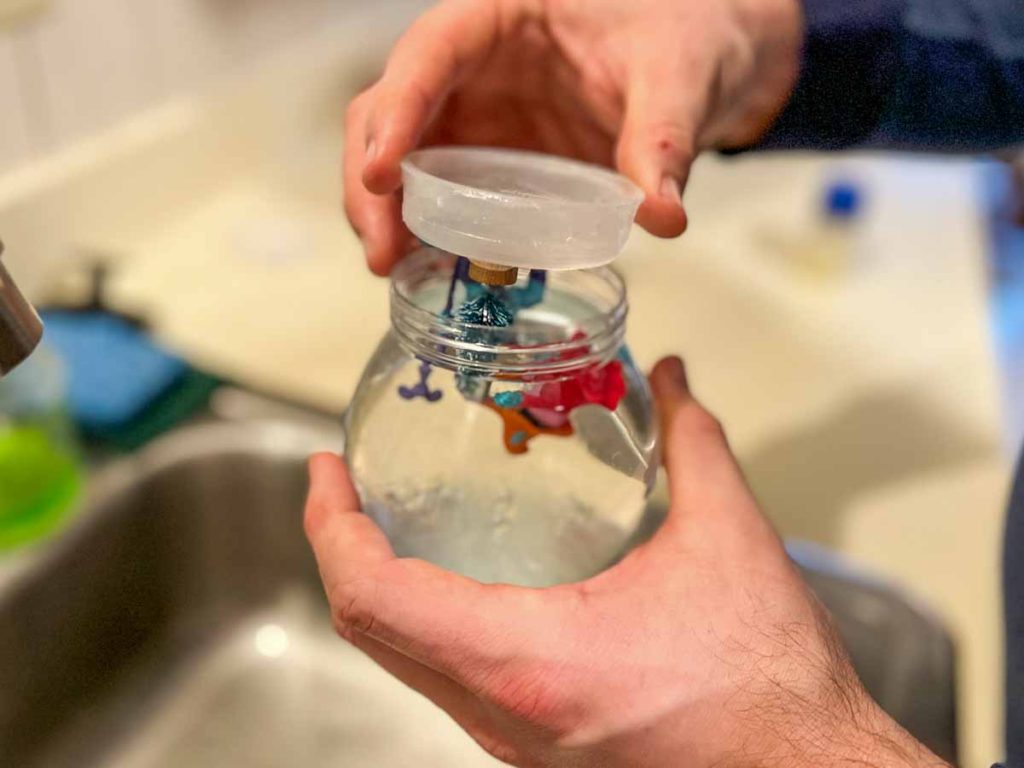
- Carefully insert the scene into the snow globe. I like to do this step over the sink. I personally like to fill it with just a little too much water and let the excess spill out into the sink. This will give you a smaller air bubble (if you get one at all).
The key to this is to have fun and be creative.
Maybe that’s cute Christmas scene stuff, or maybe you get some old figurines and depict a dinosaur eating a snowman. Why not?
In fact, if you want to take the activity further, make a family snow globe contest to see who makes the most creative snow globes!
Related Posts
Recently my oldest son and his friends have gotten super into dragons. They’ve been reading the Wings of Fire series by Tui T. Sutherland (a great read for your kids by the way), and now...
It’s Saturday afternoon, it’s raining outside, and I desperately need to find something to do with my kids before they drive me nuts. I don’t feel like driving to the store, so it’s...