
I’ve been a teacher for almost 20 years. It’s important to recognize that people learn in different ways and at different speeds. So when you watch that YouTube video that “guarantees” that your kid can learn in 5 minutes, and it doesn’t work for your child, don’t stress that there might be something wrong.
The root of teaching is figuring out how to take someone from “Point A” to “Point B.” Some people can do that in one step, and some people take twenty.
If you find that your child is scared or reluctant to learn to ride a bike, you may need to take extra steps to get them to ride a bike. The process needs to be more gradual and take more time. They key is for you to be patient and positive along the way.
The process of learning to ride a bike can be broken into three general steps: balancing, steering, and pedaling, in that order. Below is a breakdown of teaching those three concepts into 9 steps. They are by no means supposed to be followed rigidly. Take whatever works for your child and ignore anything that isn’t working.
It’s important to follow the pace that your child needs. If they’re struggling, take your time on a step before you move on. It might take a couple days or weeks, and that’s okay. If you find that your child picks up on a concept quickly, then move on.
1. Turn your pedal bike into a temporary balance bike
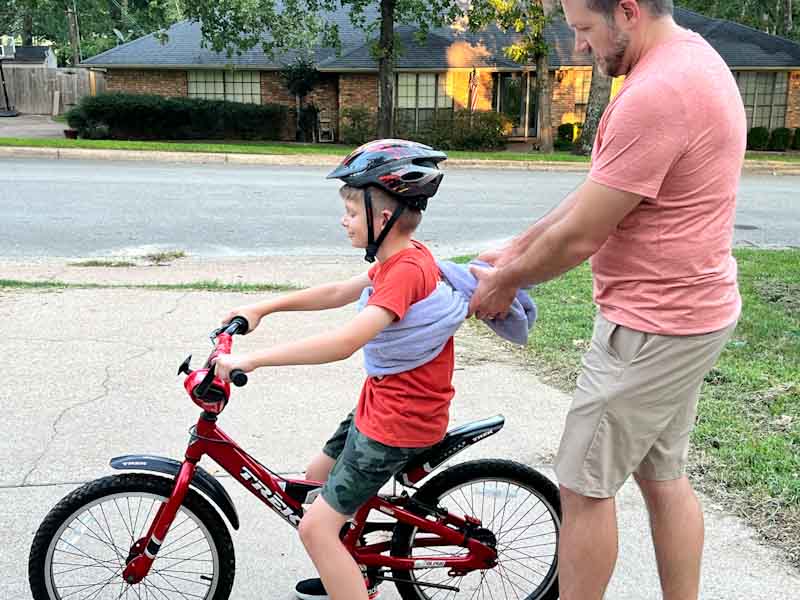
The first thing we need to do is turn your pedal bike into a temporary balance bike. (If you have a balance bike that still fits your child, great! Use it!) If you have training wheels, take them off and get rid of them (if you want to know why, check out 10 Reasons to NOT Use Training Wheels).
Unscrew the pedals and set them aside for now. While the right pedal unscrews normally (that is “lefty-loosey”), the left pedal is backwards (“right-loosey”). Put a piece of tape to help identify the two. This will simplify putting them back on again later.
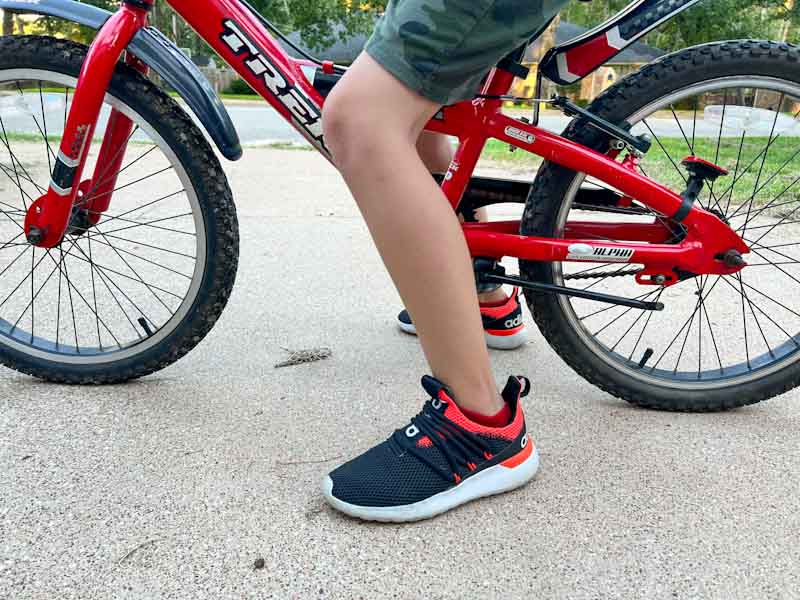
Start by lowering the seat to about an inch below your child’s inseam. When your child sits on the bike seat, their feet should be flat on the ground with their knees bent. (If you’re curious about different bike seat heights, have a look at Best Bike Seat Height for Kids (Finding the Right Fit)).
If you don’t have a bike with a hand break, you may want to buy one. While your child can stop using their feet, they may feel more confident having a hand break.
2. Find a place to ride
Time to scout out a good location. This could be your driveway, the street in front of your house (as long as it has very little traffic), or an empty parking lot. For the first couple steps, something flat is nice. At some point though, you will want something with a gentle slope.
3. Walk with the bike
The first and most challenging part of learning to ride a bike is learning to balance. Start by having your child sit on the bike seat and walk with the bike. Take your time with this step.
It’s okay if you need to live in this step for a couple day. Remember that it’s better to do multiple short practice sessions than one long one. I liked giving my son tasks to help give this activity purpose (it also helped them to get out of their head a little). I would ask him to check the mail or to get something on the end of the driveway.
4. Bunny Hops
As your child starts to feel comfortable, have them try to take short bunny hops. Bunny hops are where you put both feet on the ground and push off with both feet. With bunny hops, your child is gliding with no feet on the ground, even if it’s only for a very short amount of time. When they feel comfortable with this, encourage them to take longer bunny hops.
5. “Right, Left, Balance” Game
Another activity I liked to do that helped my boys work on balance was something I called “Right, Left, Balance.” Begin by holding the front bike tire with your knees and the handle bars with your hands. Have you child sit on the bike.
While holding on to the bike, have your child pick up their feet. Let them know you’re going to take a step to the left or right, and that you want them to put that foot down and catch themself. Spend a couple minutes doing this. Not only does it help them feel what balancing is, but also how to confidently catch themself.
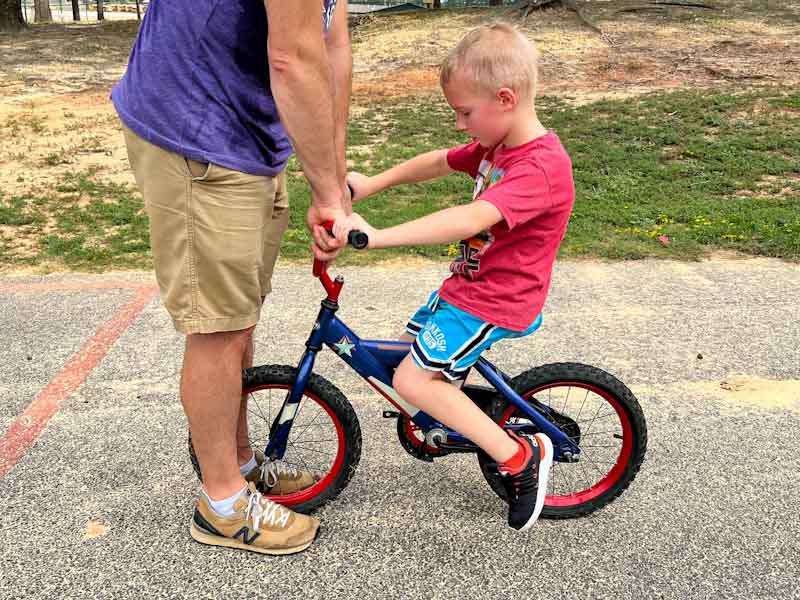
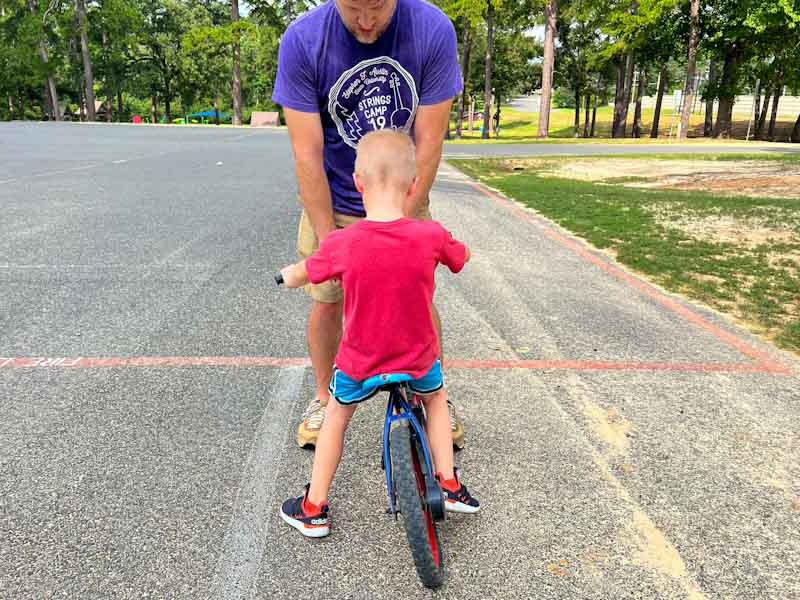
When they’re feeling good about this, tell them you’re going to let go and take a step back. Ask them to hold their balance as long as they can. It won’t be very long, and that’s okay. The goal is to start to feel balance, and to gain confidence on the bike.
6. Gliding
Once your child is feeling more confident with their bunny hops, it’s time to take them for their first glide. Find a part of the road that’s a little longer and has a gentle slope.
Before you start rolling them down that hill, take a minute to show your child how to stop. Your child will have two ways to stop: their feet and a hand break. If you don’t have a bike with a hand break, you may want to buy one. While your child can stop using their feet, they may feel more confident having a hand break. Have your child practice walking or taking bunny hops for an using the hand break.
Start at the top of the slope and let your child do some bunny hops. Challenge them to see how long they can go without putting their feet down. Make a big deal of any and all successes. See if they can break their record. Make this fun!
7. Steering
The good news is that steering is often learned as your child navigates learning to balance. But if you find that your child is struggling, it’s time to step in.
The first step to follow is to practice some more bunny hops and gliding but adding turns. Start with a simple loop. Have your child ride down the driveway or road and then make a wide turn and come back. As they feel more comfortable making the turn, encourage them to move faster and glide more.
Another activity is to go down a gentle slope, and as your child glides down, have them do make wide, gradual zig zags. This doesn’t need to be an obstacle course, just some gentle sways back and forth while gliding.
If you your child is still struggling, remember that turning on a bike is done by leaning, not turning the handle bars. Have your child practice gliding with you holding them under their arms (don’t hold the handle bars or bike seat). You want them to feel how they shift their weight when they turn.
Tip: If your child is older or you have a difficult time holding them and being that close to the bike, take an old bed sheet or beach towel, wrap it under their arms and twist the ends in the back.
7. Turn the balance bike back into a pedal bike
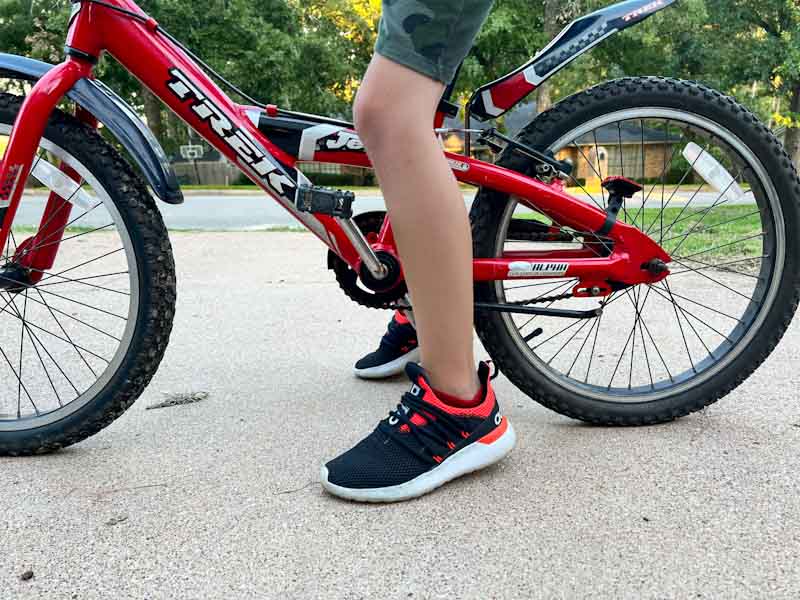
The next big step is to start pedaling. Screw the pedals back on (remember the left pedal is now “lefty-tighty”) and raise the seat a couple of inches. It should be about the same height as their inseam. The balls of their feet should be comfortable touching the ground with a slight bend at the knee. If the seat is too low, your child will struggle to pedal hard enough to gain momentum.
8. “Right, Left, Balance” with pedals
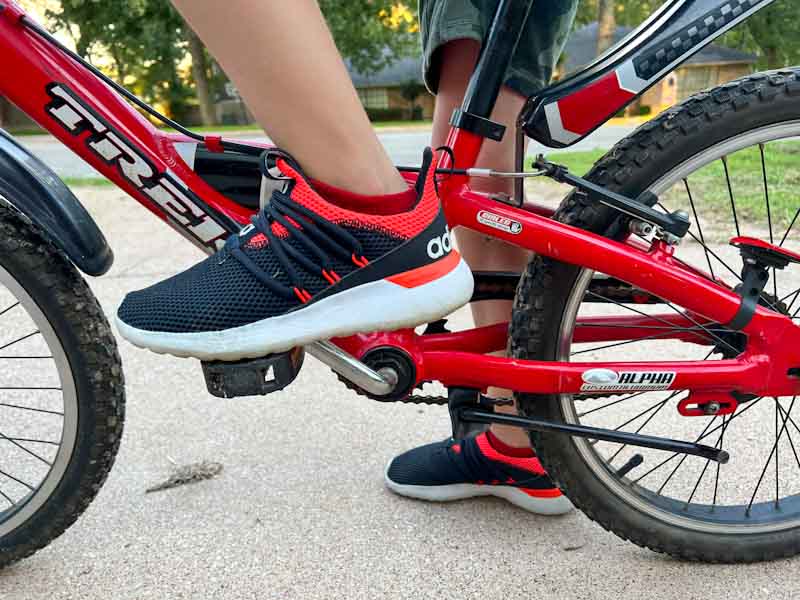
Go through a couple more rounds of “Left, Right, Balance,” this time with your child putting their feet on the pedals (with the pedals in a 3/9 o’clock position). This will help them to practice feeling what it’s like to balance while using pedals. It also helps them to practice catching themself with a slightly higher seat and with pedals.
9. Riding with pedals
Next, set either the left pedal set at 10 o’clock, or the right pedal at 2 o’clock (it doesn’t matter which). Place a foot on that pedal with the other food on the ground.
While holding the back of your child’s seat (or bedsheet/towel if that’s more comfortable for you), have your child push down on the pedal and push off with the other foot. The coordination needed to do this may take a little time. It’s not uncommon for beginners to lift their foot off the ground first, and then try to pedal.
Once you feel that your child is getting good momentum, and the moment you feel like you’re not putting in any effort to hold up your child, let go. Practice going in a couple straight lines until they feel comfortable starting and stopping on their own.
Final Thoughts
The key to all of this is to stay positive, and be patient. Don’t start with the goal that you will “fix this problem” in one sitting. And don’t push so hard that you’re out there for hours. It’s much better to set the time and only do 15 minute sessions for a couple days than to insist that you do it for an hour.
Remember that riding a bike is supposed to be a fun activity. Go slow and help them to feel comfortable. No shouting and no getting mad. Take lots of baby steps and find ways of changing it up. Enjoy the process and time spent with your child instead of fixating on the goal.
And remember that the steps above are not the only way to learn to ride a bike. If at any step along the way your child is succeeding, move on. Maybe even skip a step. If they’re struggling, stay on that step for a day or two. Make this a bonding experience for the both of you!
Recent Posts
I have a confession to make; I did a terrible job getting my kids’ first bikes. I had no idea what to look for and quickly settled for the free hand-me-down. Who’s going to turn down a perfectly...
I can hear it happening already. (Me using my best impression of my dad’s voice): “In my day, riding a bike was different.” And while I might weep a little as I slowly turn into a grumpy old...