
There are a couple options to help your child learn to balance when they’re first learning to ride a bike. You can buy a balance bike or you can take the pedals off the bike and turn it into a temporary balance bike.
While a balance bike is a fantastic option for beginners, many people already have a pedal bike and don’t want to buy another bike. (If you find yourself asking whether it’s worth buying a balance bike, consider checking out Do I Really Need a Balance Bike? (Pros and Cons).)
If you have a kid that is 5 or older on 16 inch bike or larger, turning your pedal bike into a balance bike is going to be a better option. It is a temporary solution that will help get your child pedaling sooner. The good news is it’s super easy to turn your pedal bike into a temporary balance bike.
To turn a pedal bike into a temporary balance bike, simply remove the pedals and lower the seat to around 1 to 1 ½ inches below your child’s inseam.
Let’s take a deeper look at what you need to take off your child’s bike pedals and how to adjust the seat properly.
Remove the Pedals
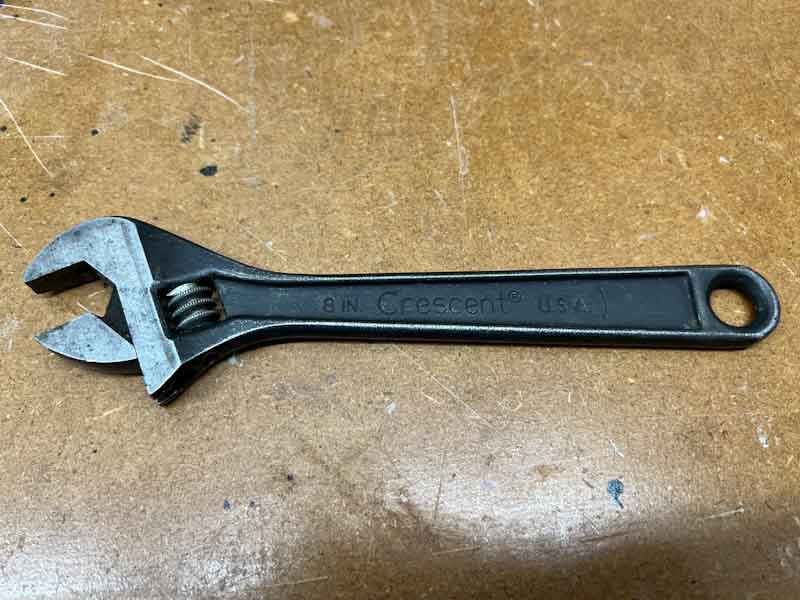
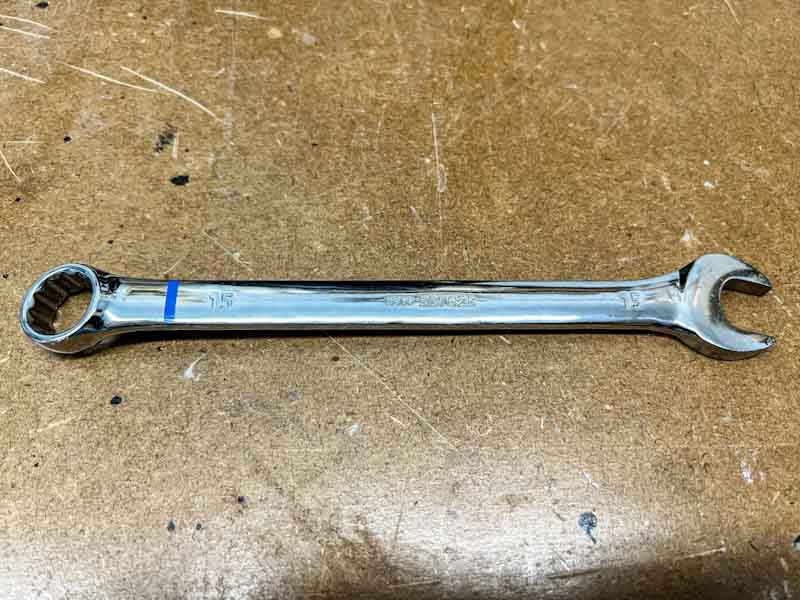
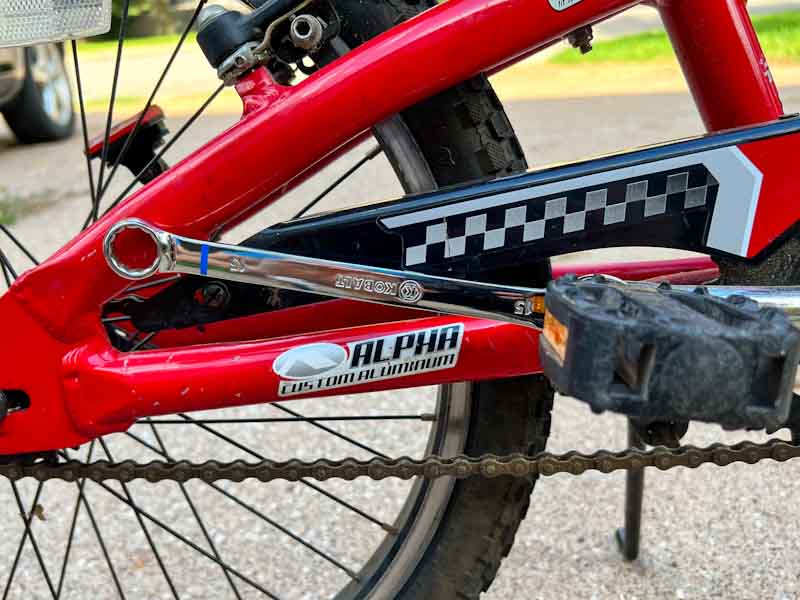
Before we begin to unscrew the pedals, we need a couple of tools. Most bikes use a 15mm wrench, but an adjustable wrench can also work. An adjustable wrench was a little too wide for my oldest son’s bike but fit for my youngest son’s bike fine. A dedicated 15mm wrench is usually a little narrower if find your adjustable wrench is too wide for your pedals.
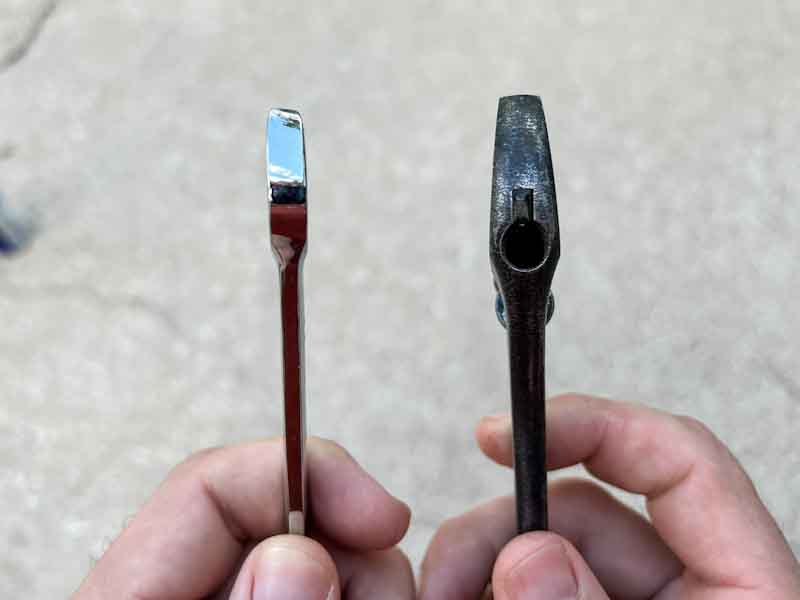
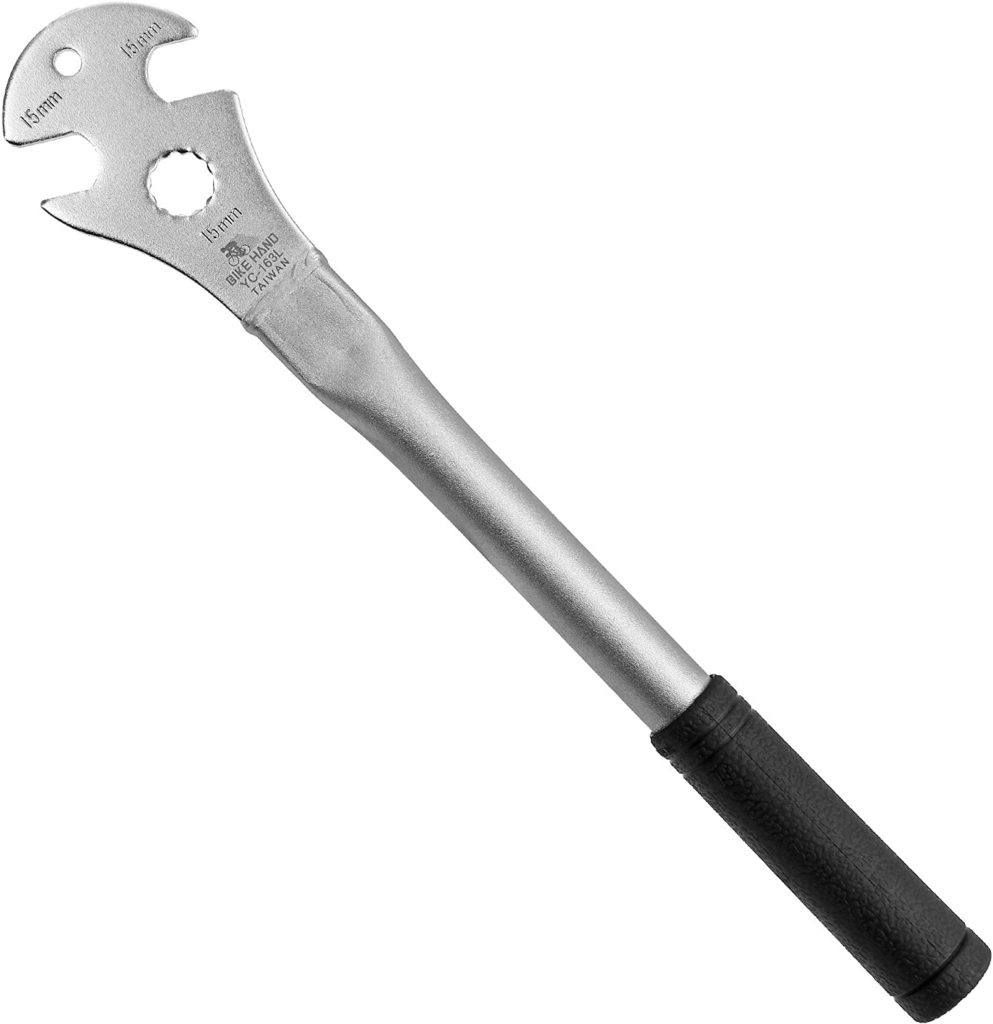
Another option is to buy a bike pedal wrench. The head is much narrower and will fit just about any pedal. The handle is much longer and will give you more leverage than a traditional wrench. A pedal wrench also has a couple places to connect with the pedal to give you different angles when unscrewing.
Some bike pedals need to be unscrewed with an Allen wrench. If you have this style of pedal, insert an Allen wrench to the inside of the pedal to loosen it. You can finish unscrewing the pedal by hand. This is less common in children’s bikes, but not unheard of.
While the right pedal will unscrew normally (that is “lefty-loosey”), the left pedal is threaded backwards. This means you will have to unscrew it in a clock-wise direction (or “righty-loosey”).
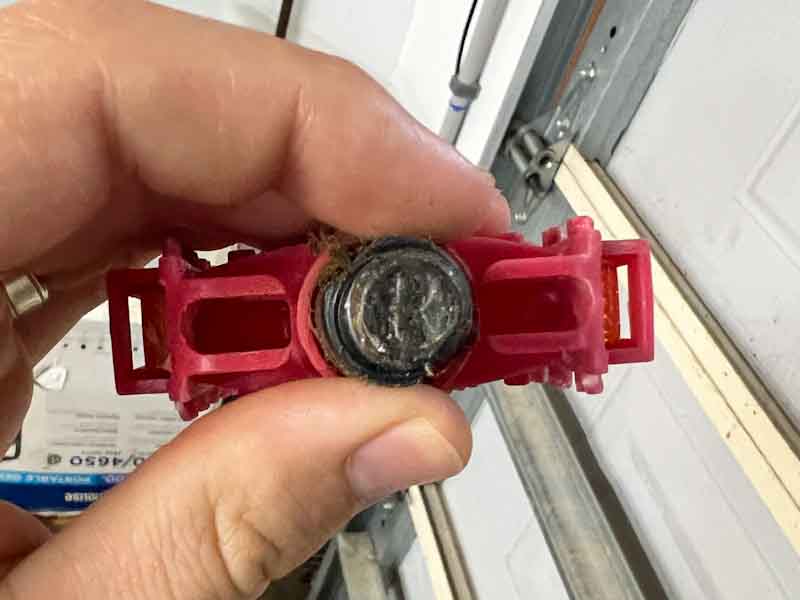
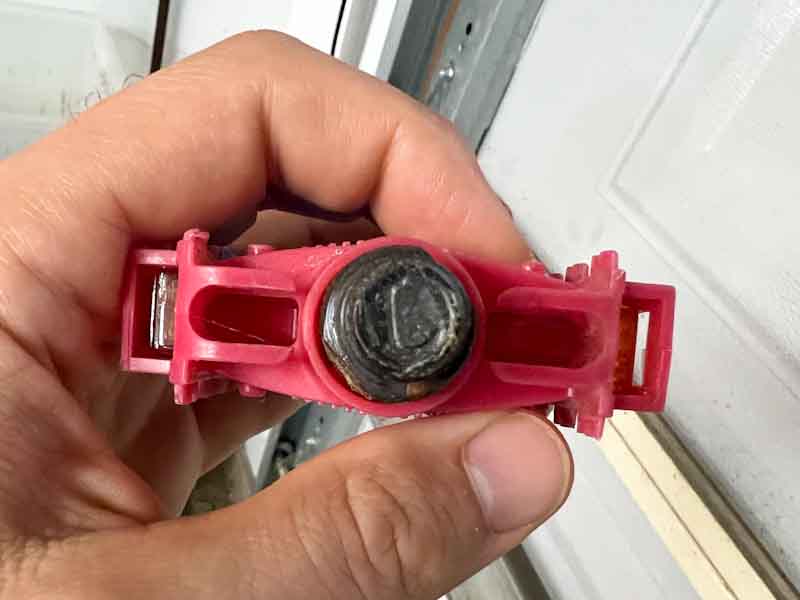
After the pedals are off, you can mark which pedal is left or right with a piece of tape. If you forget or mix them up, don’t sweat it. If you take a close look at the threaded end of the pedal, you’ll see a stamped “L” for left and “R” for right.
What to Do If the Pedal is Stuck
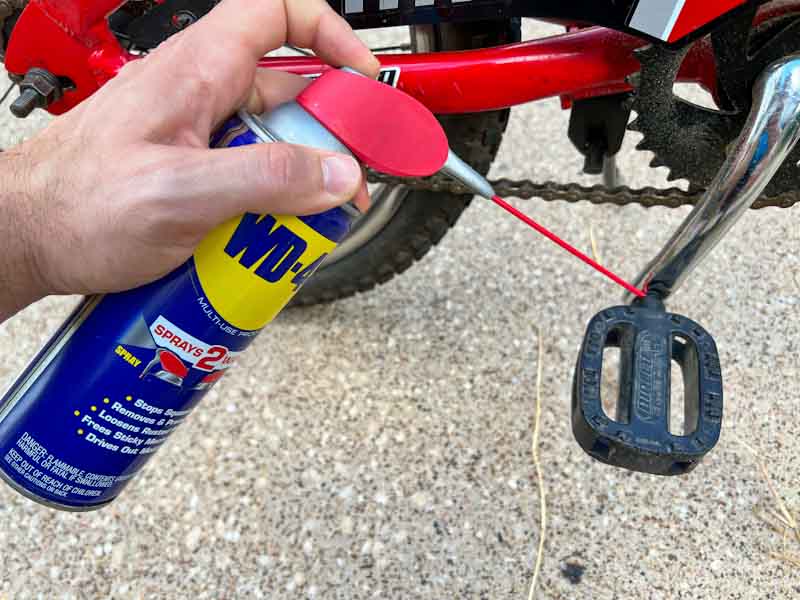
If you have an older bike, it’s not uncommon for the pedals to fit a little tight. Here are a couple suggestions if you find that the pedals are hard to unscrew. The first is to spray WD-40 into the threading. Give it a minute or two to allow the oil to penetrate and then try unscrewing again
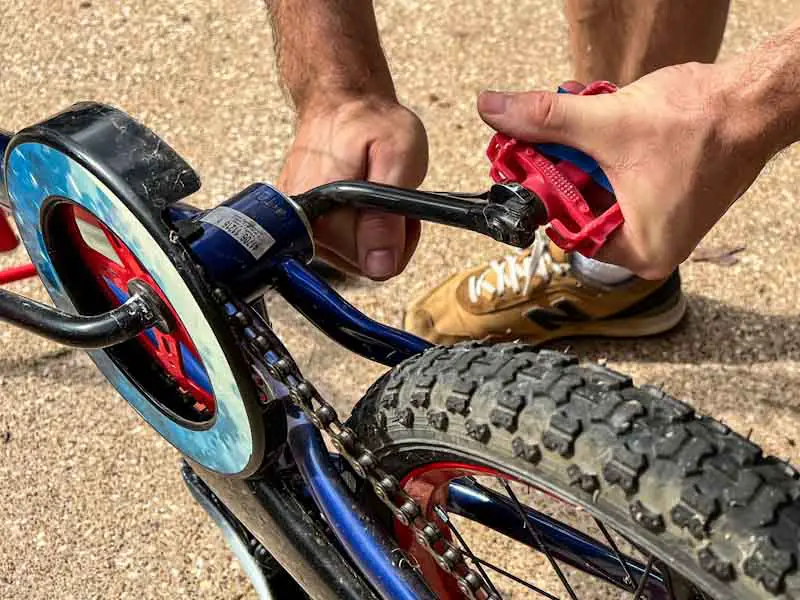
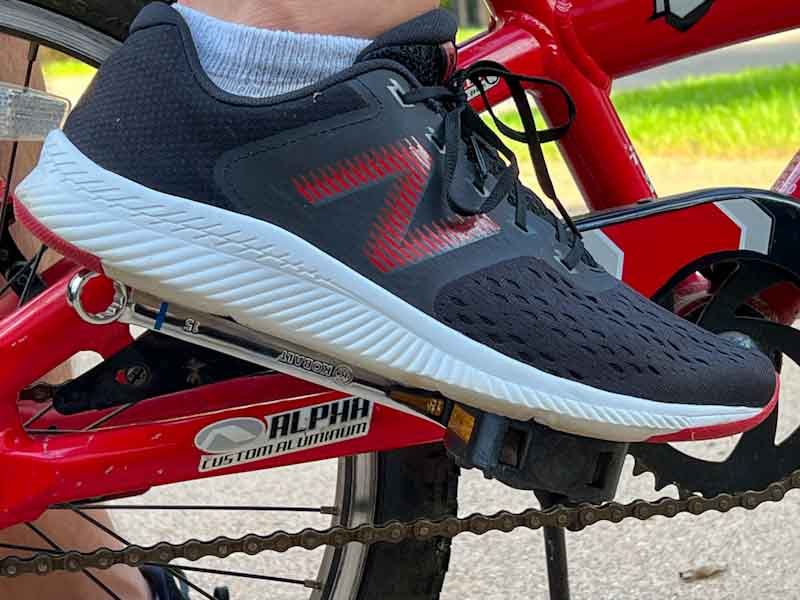
If the pedal is still too tight, we’re going to need some more leverage. With the bike in an upright position (that is, in a normal riding position), set the pedal in a 3 or 9 o’clock position so it’s pointed to the back of the bike. Insert the wrench so the wrench is also pointed straight back and parallel to the ground.
Place the ball of your foot on the pedal with your heel on the wrench. Gradually press your heel into the wrench. The cool thing about this trick is that as long as the wrench is pointed toward the back of the bike, it will turn in the correct direction for the right and left pedal.
If the pedal is still tight, it’s time to get a pedal wrench. The longer wrench will give more leverage.
Prop the bike against a wall or something to help hold it stable (it might take an extra set of hands to hold the bike). Set up the pedal in the same 3 or 9 o’clock position like before. Insert the wrench so it points to the back the bike and parallel with the ground. Put the one foot on the pedal, and carefully put the other foot on the end of the wrench. Carefully put your weight into the wrench to push it down.
Do I Need to Take the Crank and Chain Off?
At this point you might be wondering if you need to take the crank and chain off in addition to the pedals. In fact, a lot of YouTube videos show this. Honestly, it isn’t a necessary step. This step exposes the bearings and unless you want to spend the time cleaning and regreasing it when you put it back on, it’s not worth the trouble.
The crank should be enough out of the way that it won’t interfere with your child’s legs. You usually convert a pedal bike into a balance bike for an older child anyway (a really young child often can’t even fit on the smallest pedal bikes). Because they will be older (and therefore bigger), their legs can usually accommodate getting around the crank.
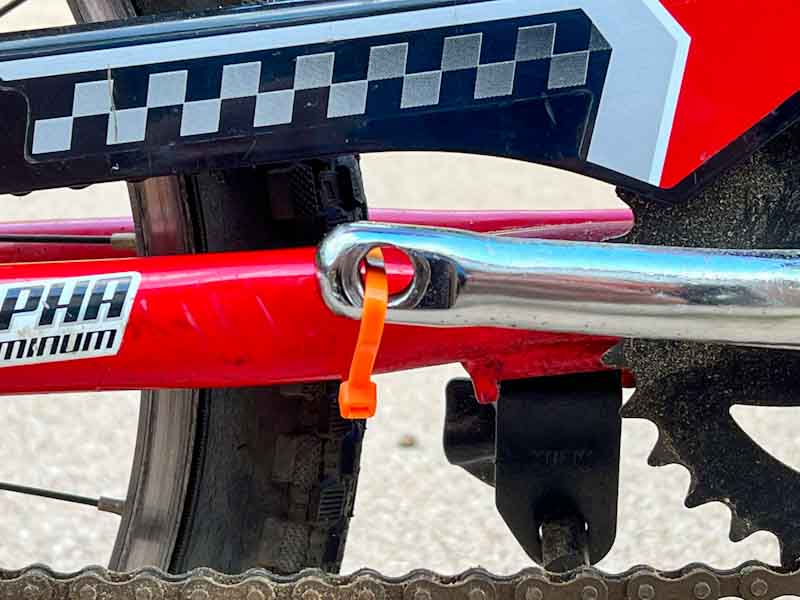
If you find the crank moves and gets in the way, set it into a 3 or 9 o’clock position and zip tie it to the bike. This should prevent it from moving and getting in the way. Use a pair of wire cutters to clip and extra part of the zip tie that sticks out. I also recommend you put the part of the zip tie where the ends connect on the inside of the bike so it doesn’t scratch your child’s leg.
Adjust the Seat Height
The height of a balance bike seat is lower than on a pedal bike. This is because to move around on a balance bike, the rider needs to push with his or her feet. A pedal bike needs more leverage to pedal, so the seat is usually higher. (Check out Best Bike Seat Height for Kids (Finding the Right Fit) if you’re interested in knowing more about proper bike seat hights).
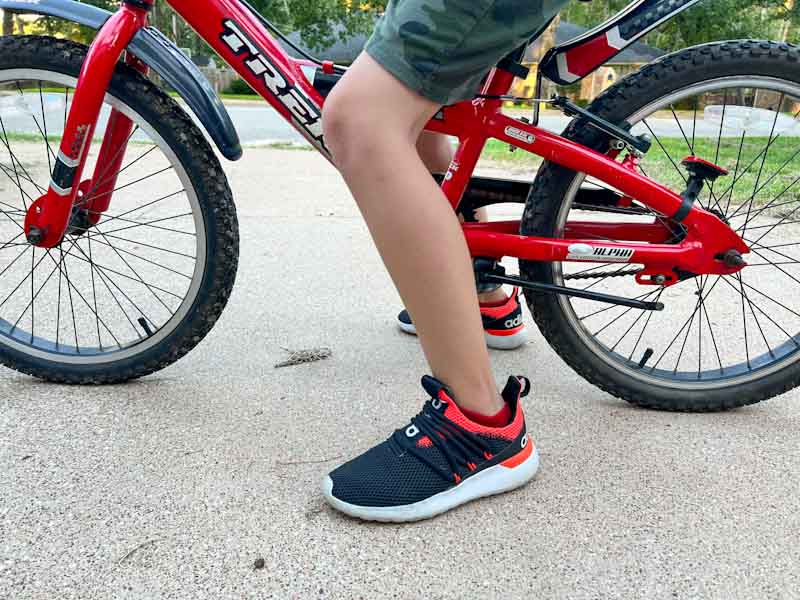
The simplest way to set the height of the seat is to set it around 1 to 1 ½ inches below your child’s inseam. To measure their inseam, have your child stand while wearing shoes. Gently insert a hard cover book between their legs and raise it to their crotch. Measure from the floor to the top of the book. Voila, you now have their inseam.
Once you adjust the height of the seat, have your child sit on the bike with their feet on the ground. The heels of their feet should touch the ground with no gaps and there should be a bend in their knees.
Recent Posts
Kids can learn to ride bike at any age. Personally, I was a late bloomer. As much as my older brother tried to teach me to ride a bike, I just struggled. I still have the memory of him pushing me on...
I can hear it happening already. (Me using my best impression of my dad’s voice): “In my day, riding a bike was different.” And while I might weep a little as I slowly turn into a grumpy old...